As you progress through the adventure in Dragon Age: The Veilguard, you’ll eventually gain access to exploration areas for each of the regions. Inside, you’ll find optional quests, hidden chests, and mystical altars. Arlathan Forest is one of the first areas you’ll explore and this page will help you find every hidden chest.
Table of Contents
If you want to jump to a specific section, click on the links below.
| Quickjump |
|---|
| Regular Chests |
| Unique Chests |
Regular Chests
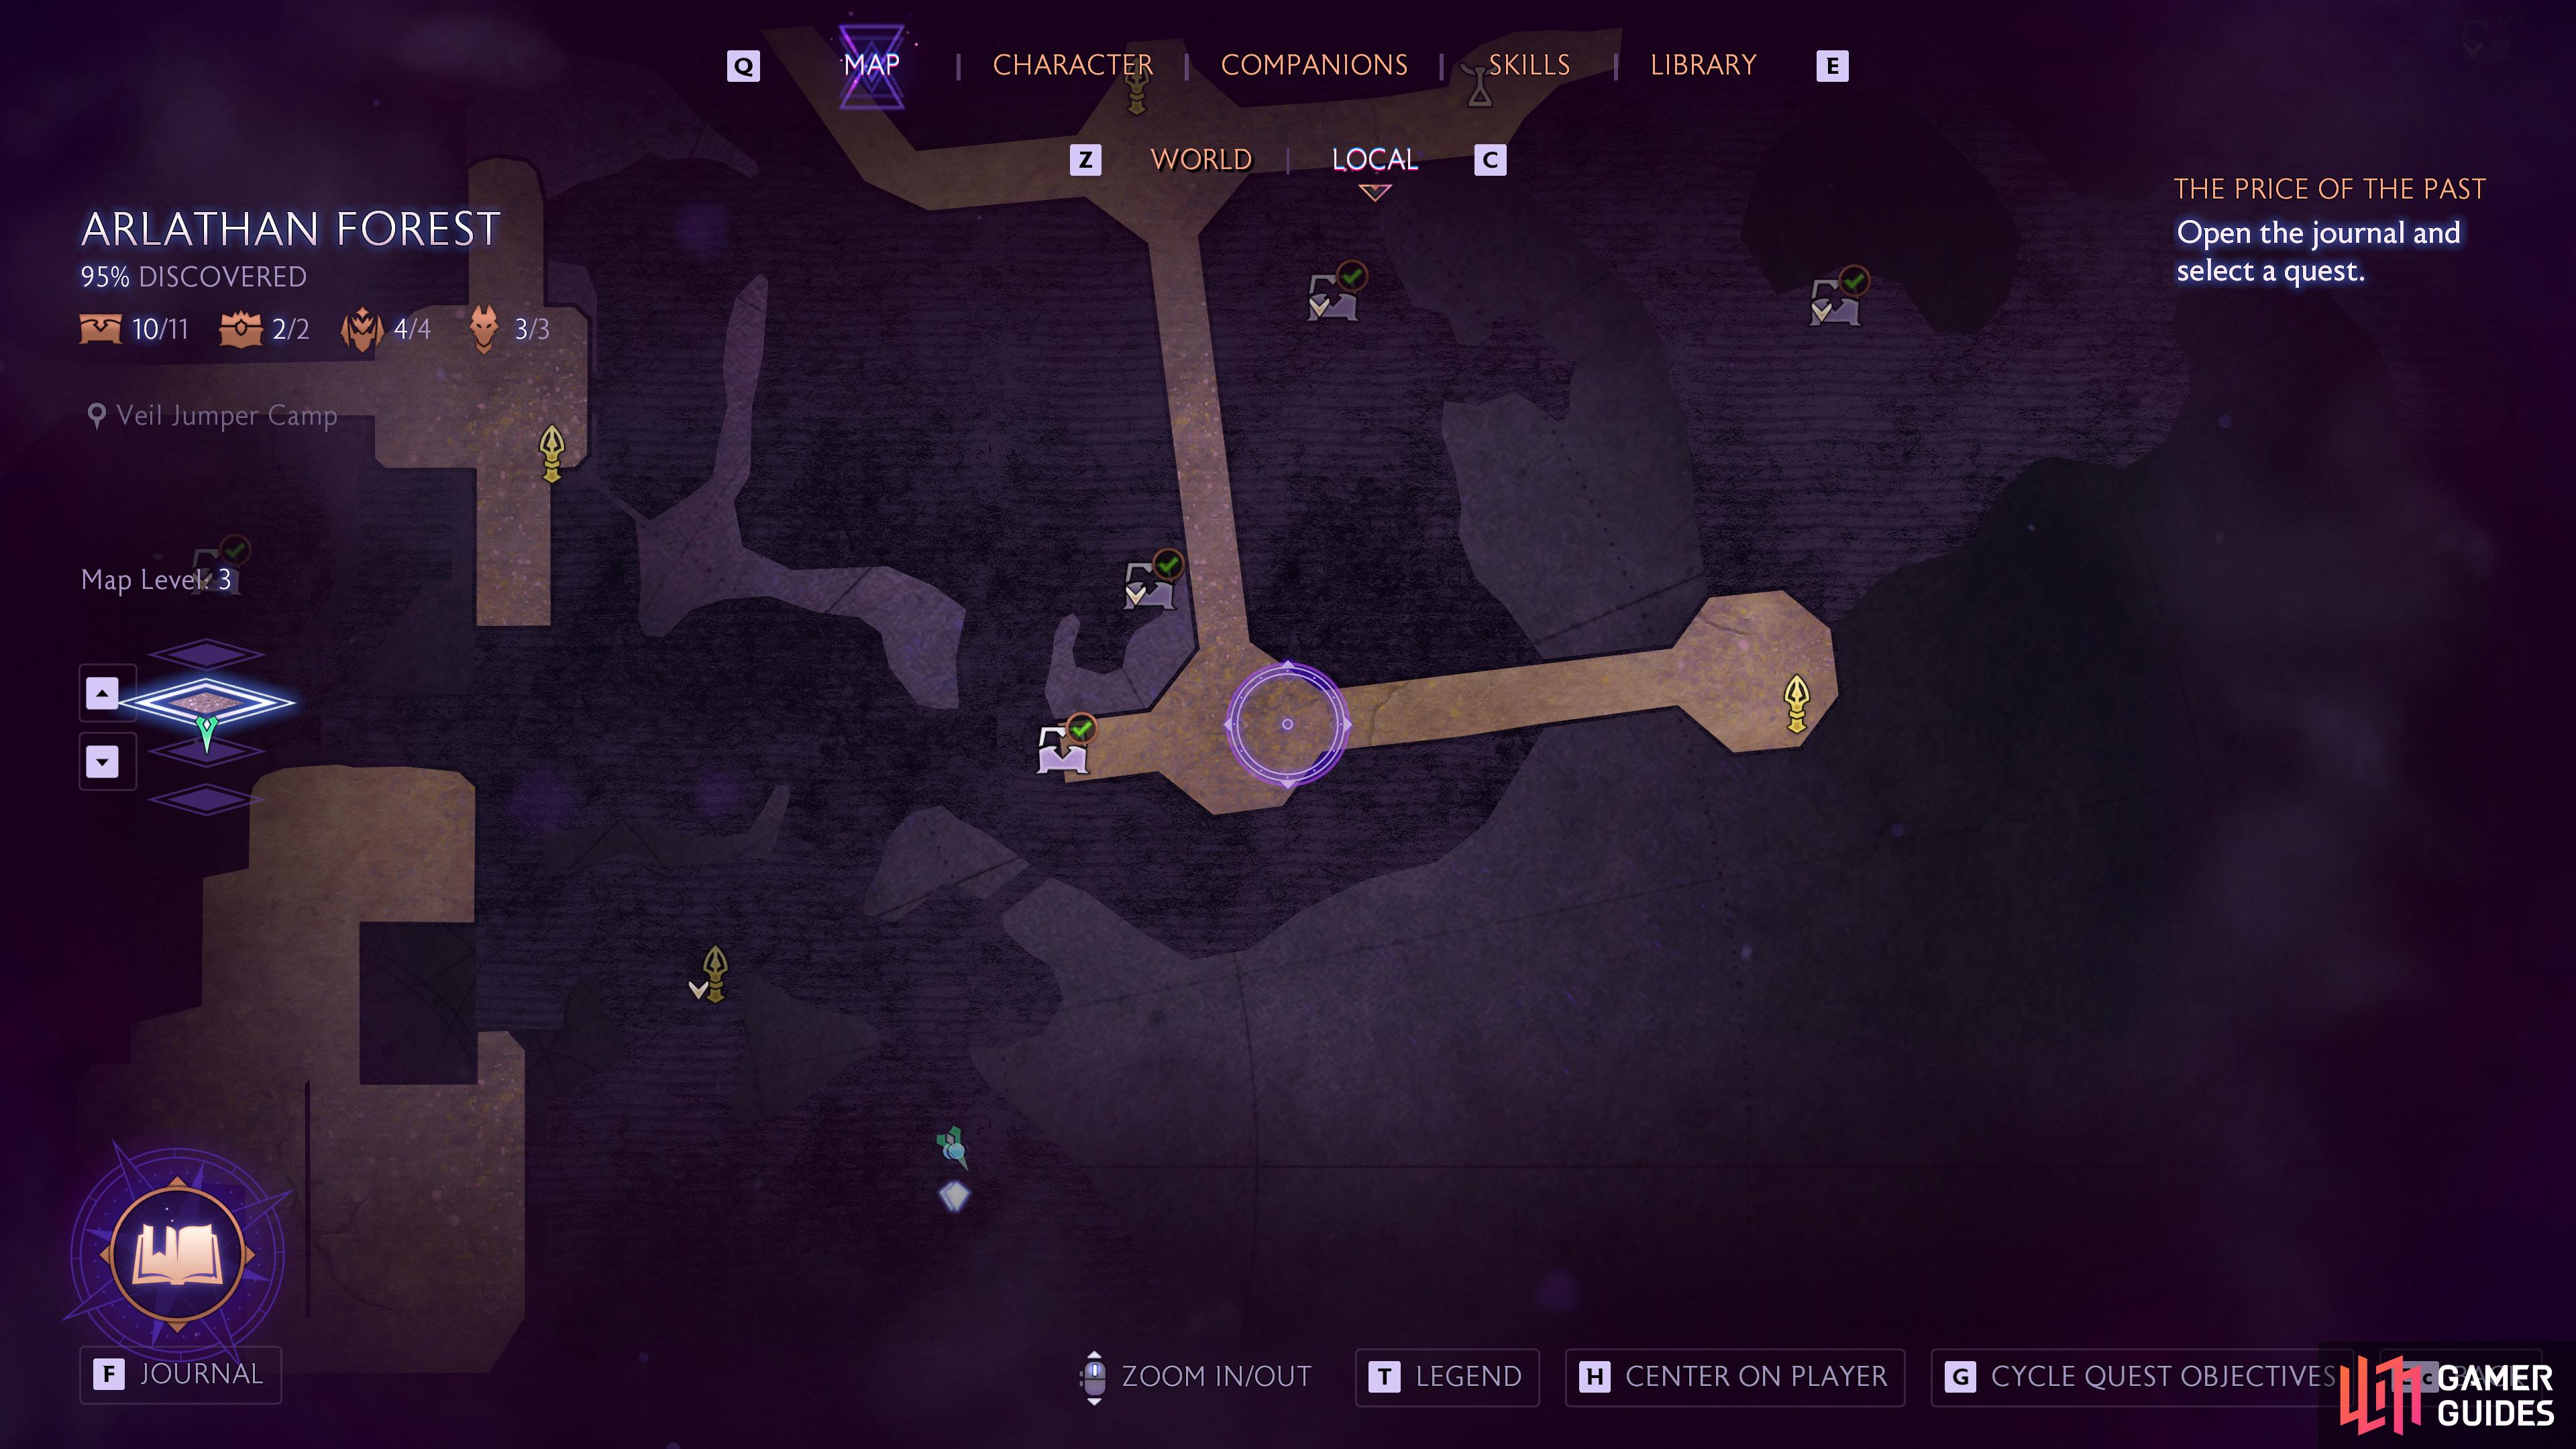
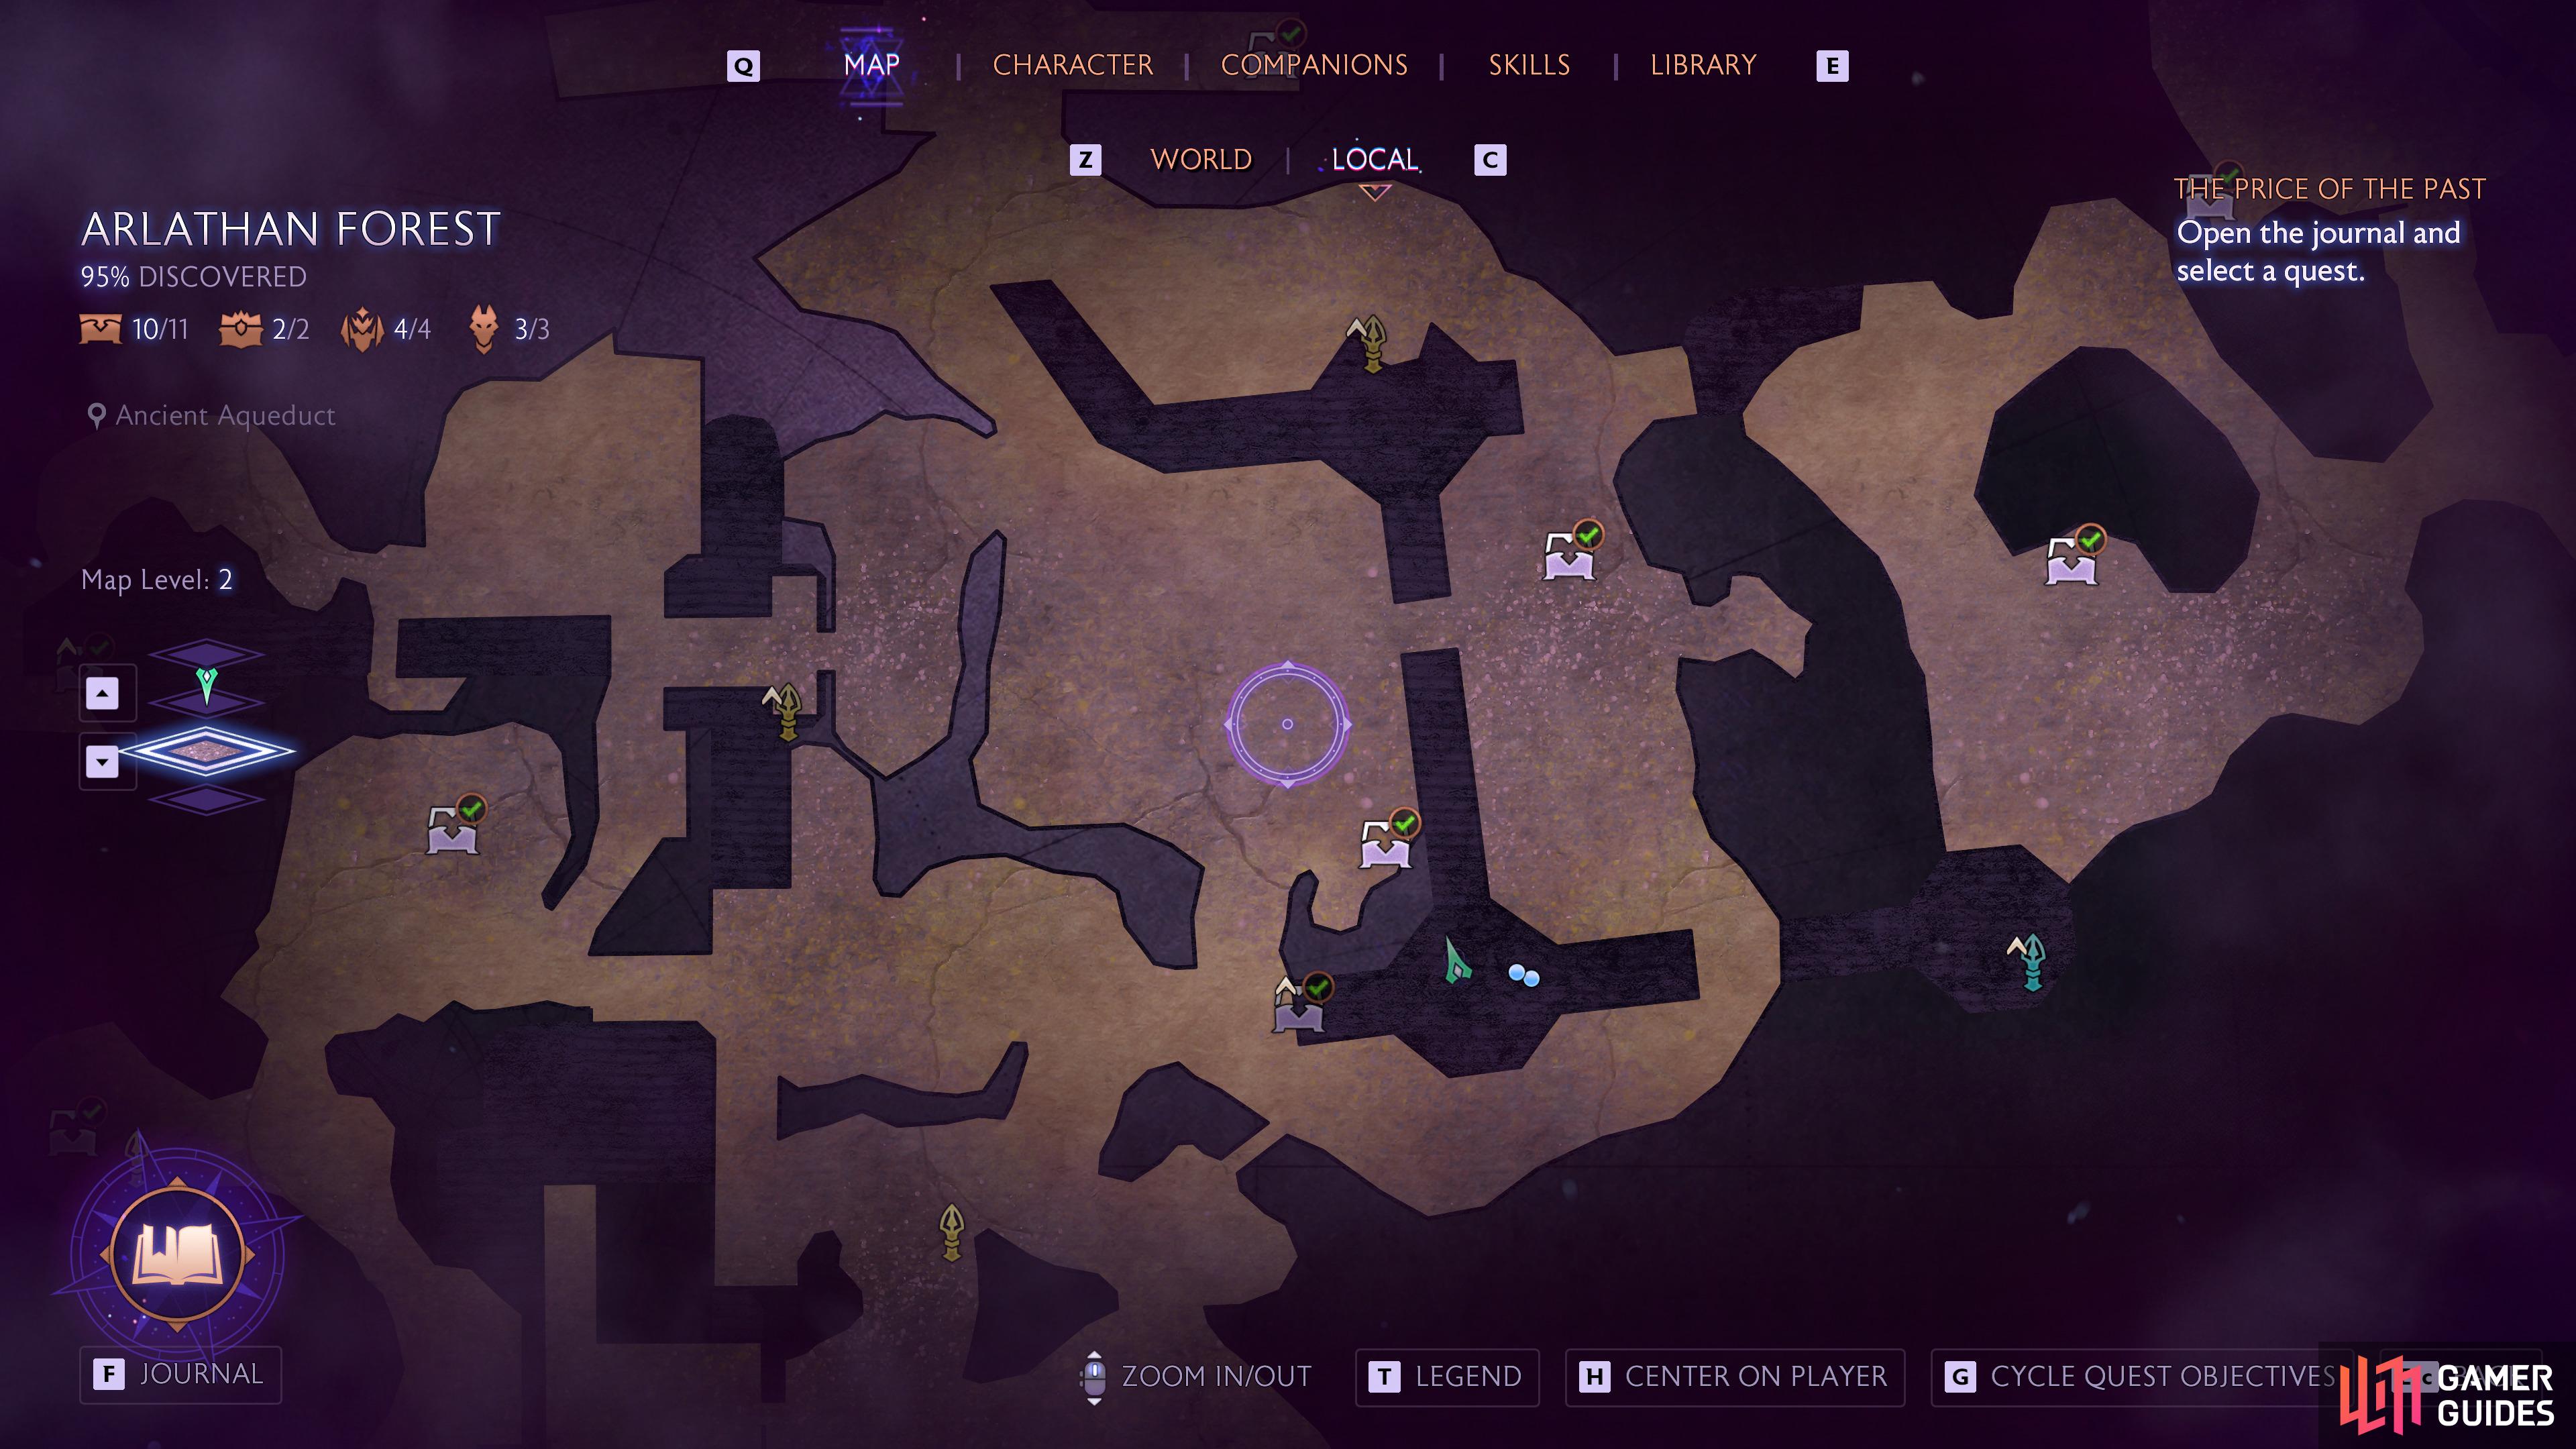
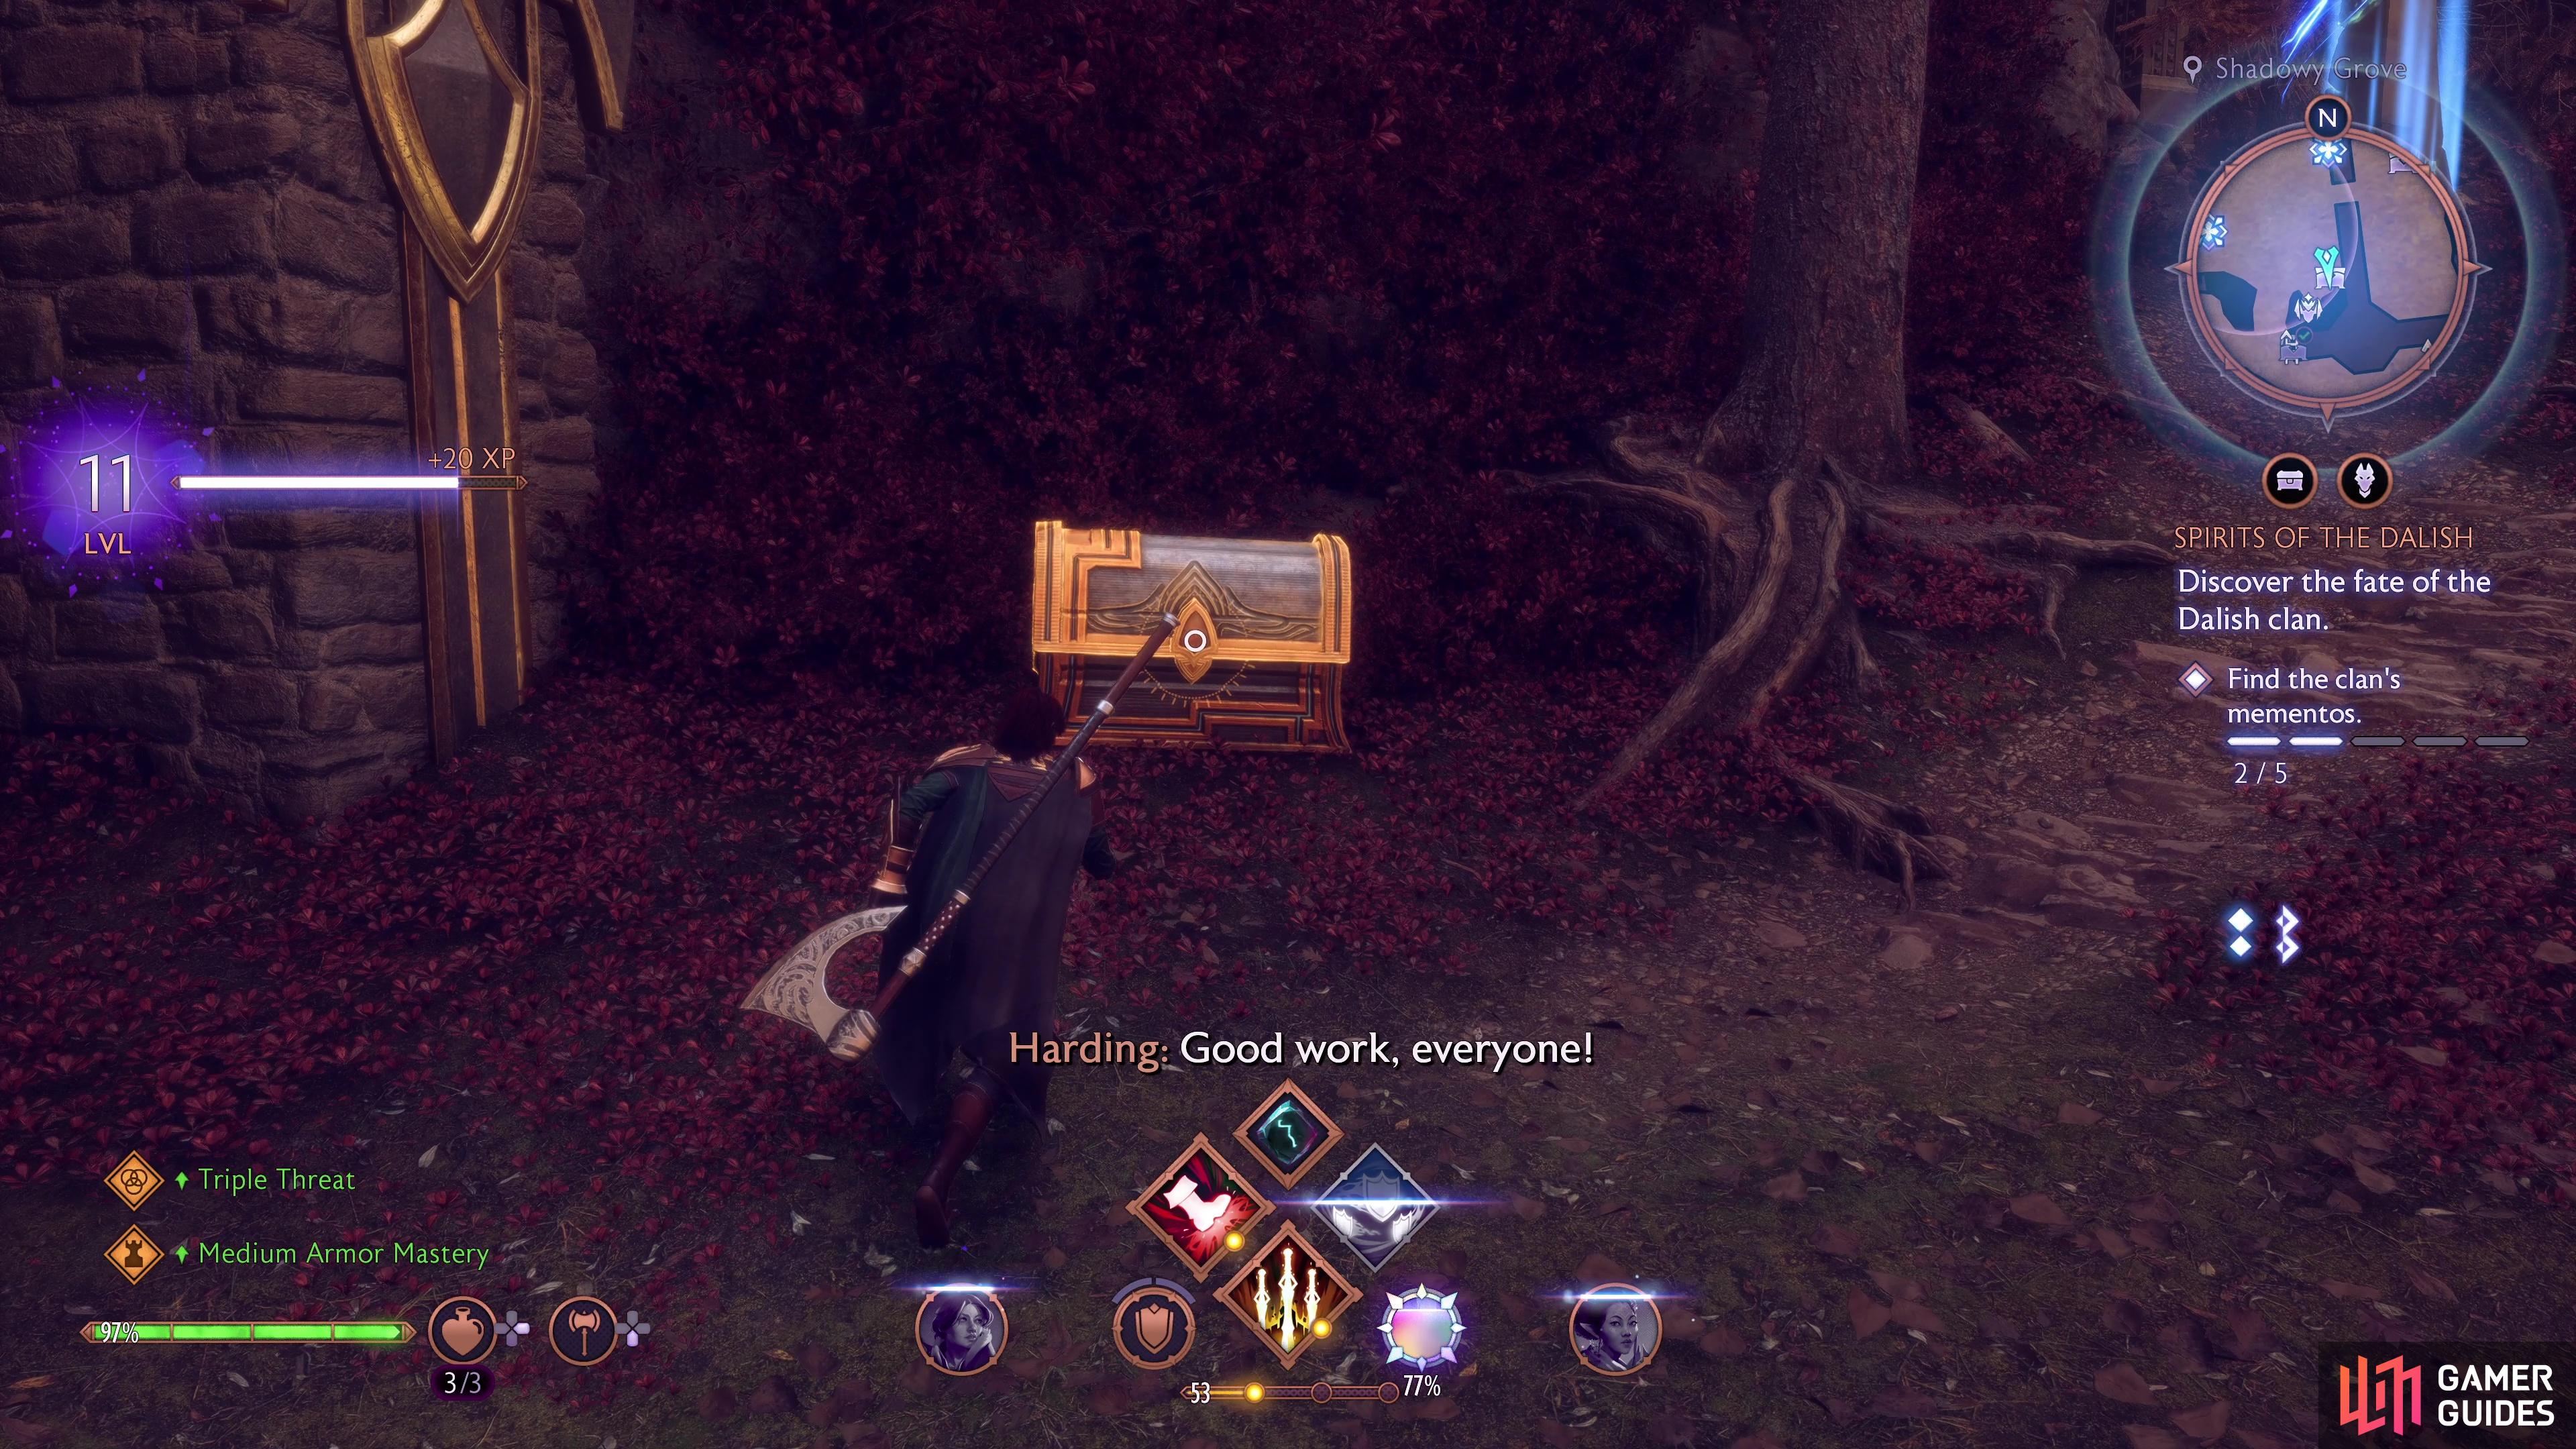
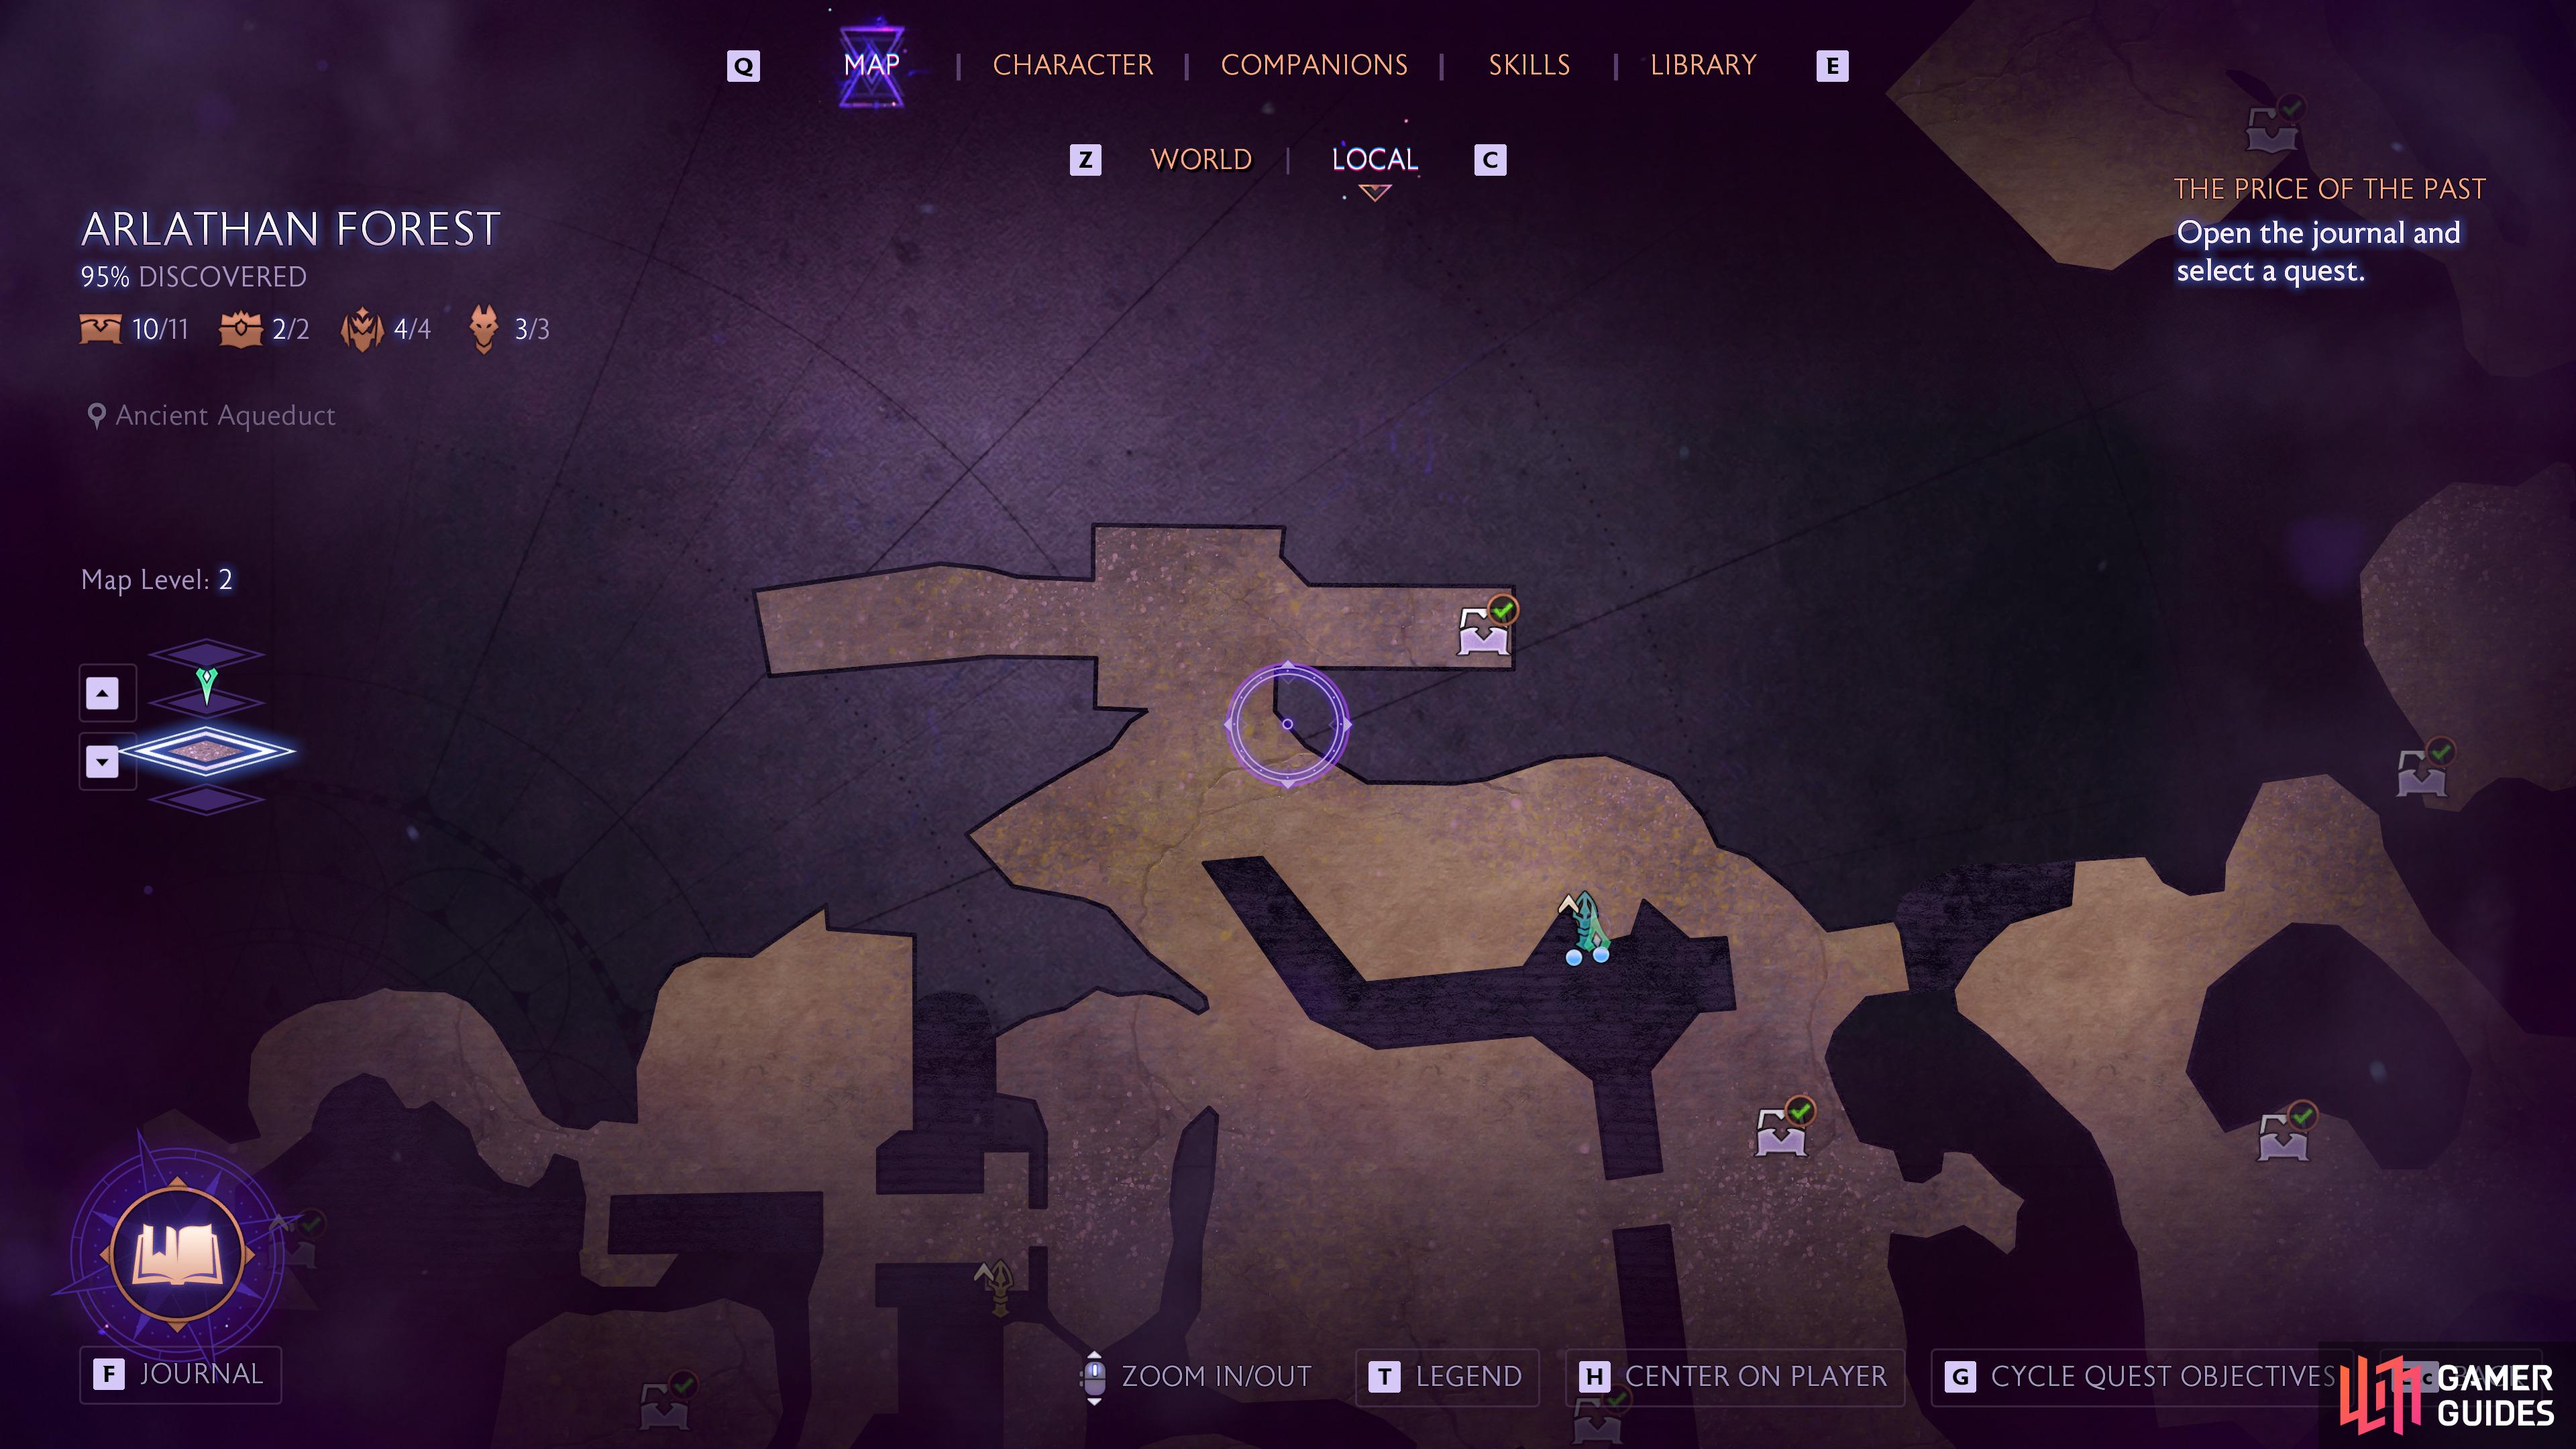
There are a total of 11 regular chests to find in Arlathan Forest, and you’ll have to visit multiple times throughout the adventure to gain access to all of them. Below, you can find the location of each chest.
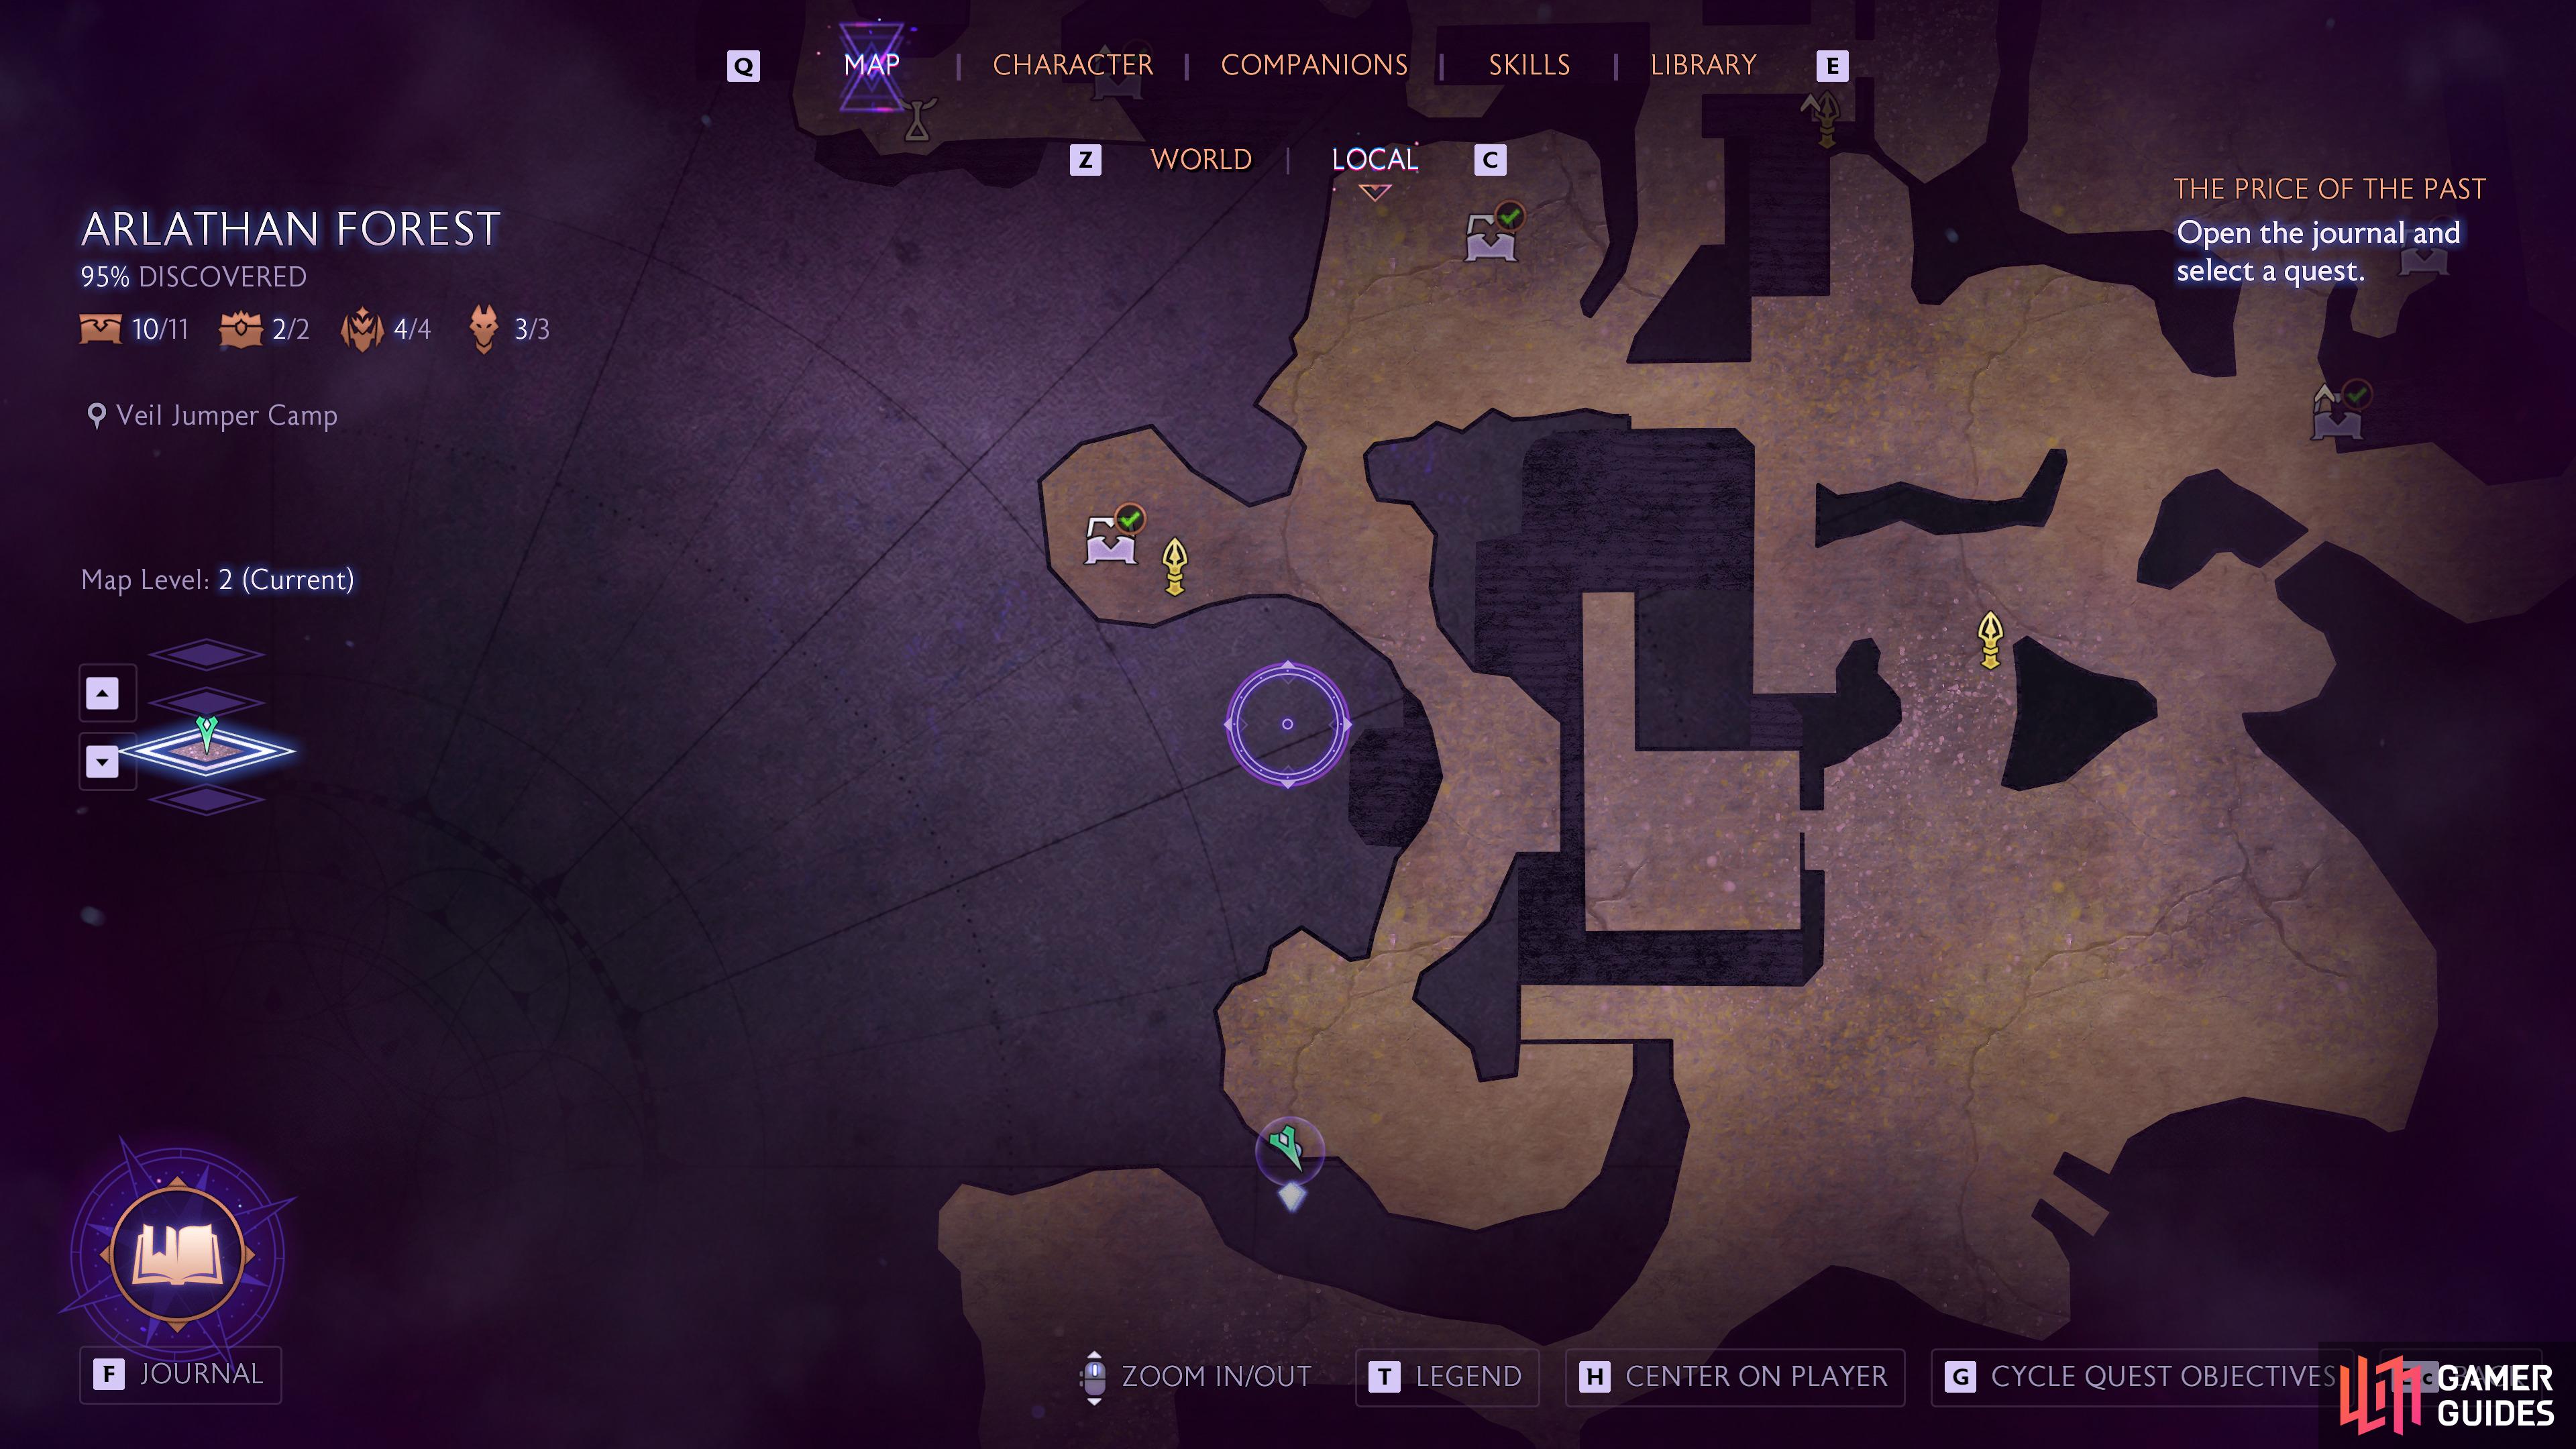
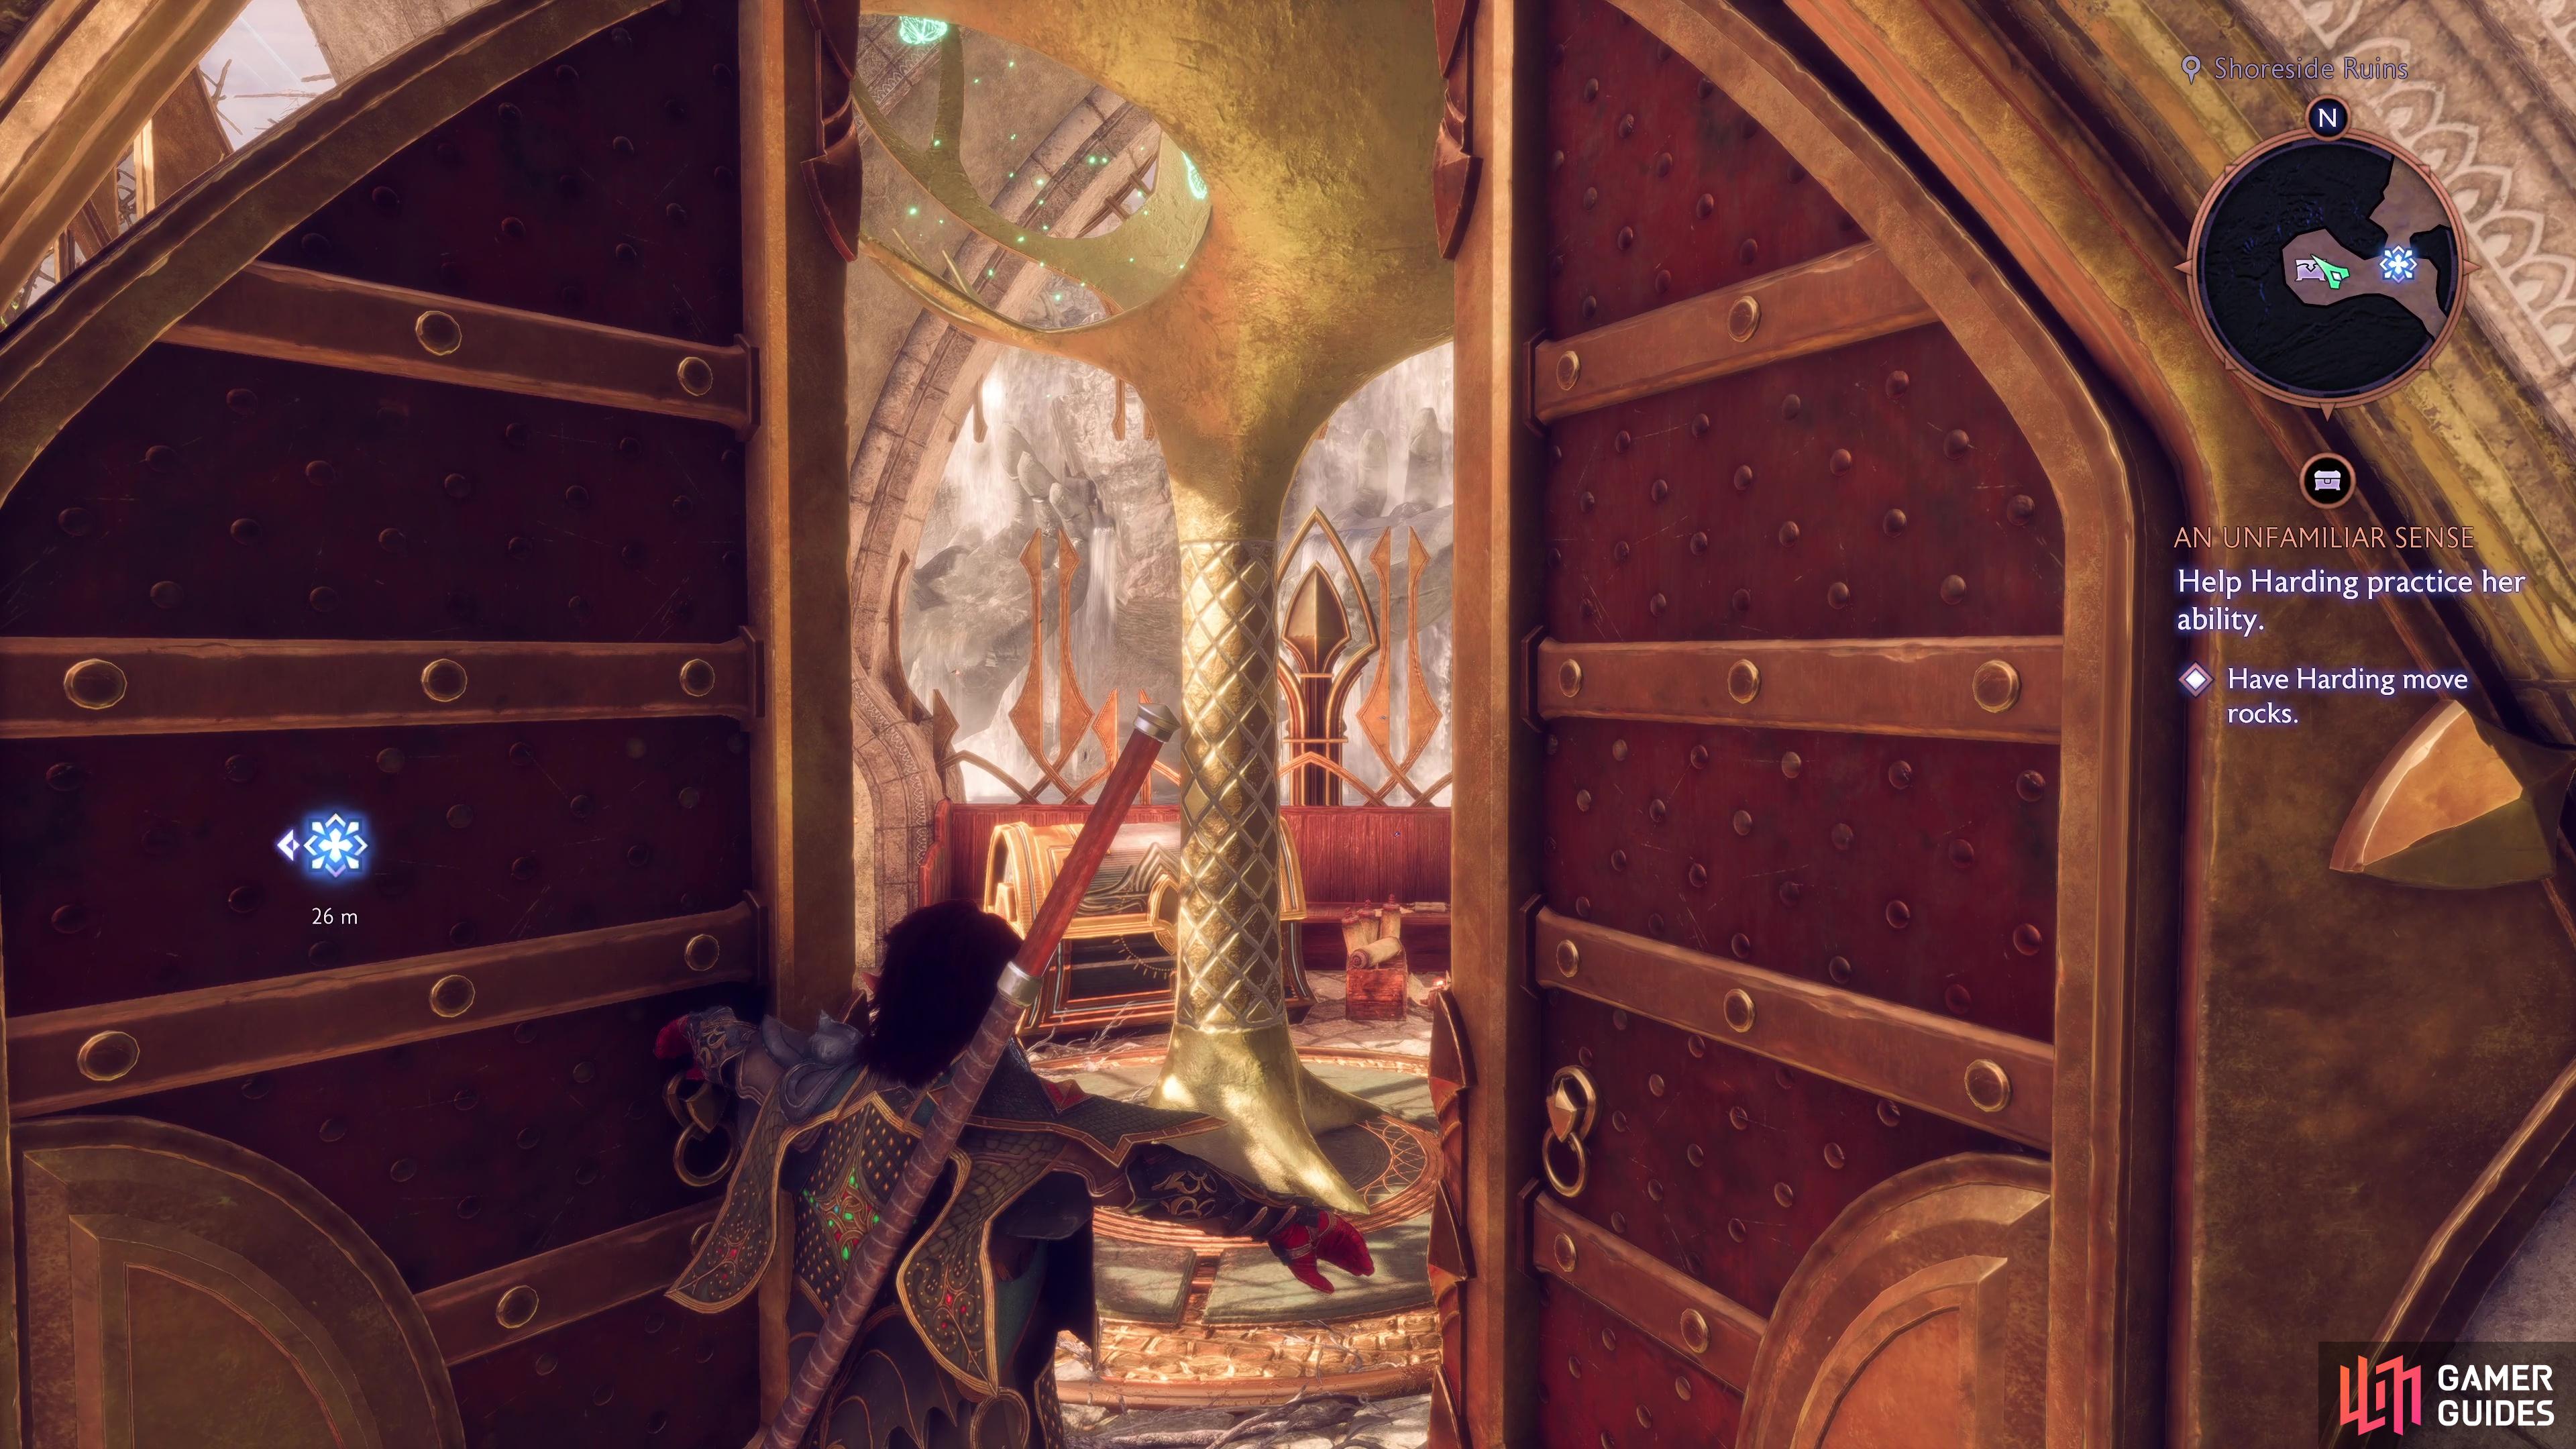
Regular Chest 1 - Shoreside Ruins
(1 of 2) Head to the Shoreside Ruins beacon.
Head to the Shoreside Ruins beacon. (left), Remove the ward at the back of the house to gain access to the first chest. (right)
Available when you can first enter Arlathan Forest and begin Lace Harding’s ![]() An Unfamiliar Sense Companion quest. Head to the Beacon (or during Harding’s quest) and you’ll find yourself at a house, go around the back of it to find Magical Wards you can interact with via Rook or Bellara, this will open the door and allow you to snag the chest inside.
An Unfamiliar Sense Companion quest. Head to the Beacon (or during Harding’s quest) and you’ll find yourself at a house, go around the back of it to find Magical Wards you can interact with via Rook or Bellara, this will open the door and allow you to snag the chest inside.
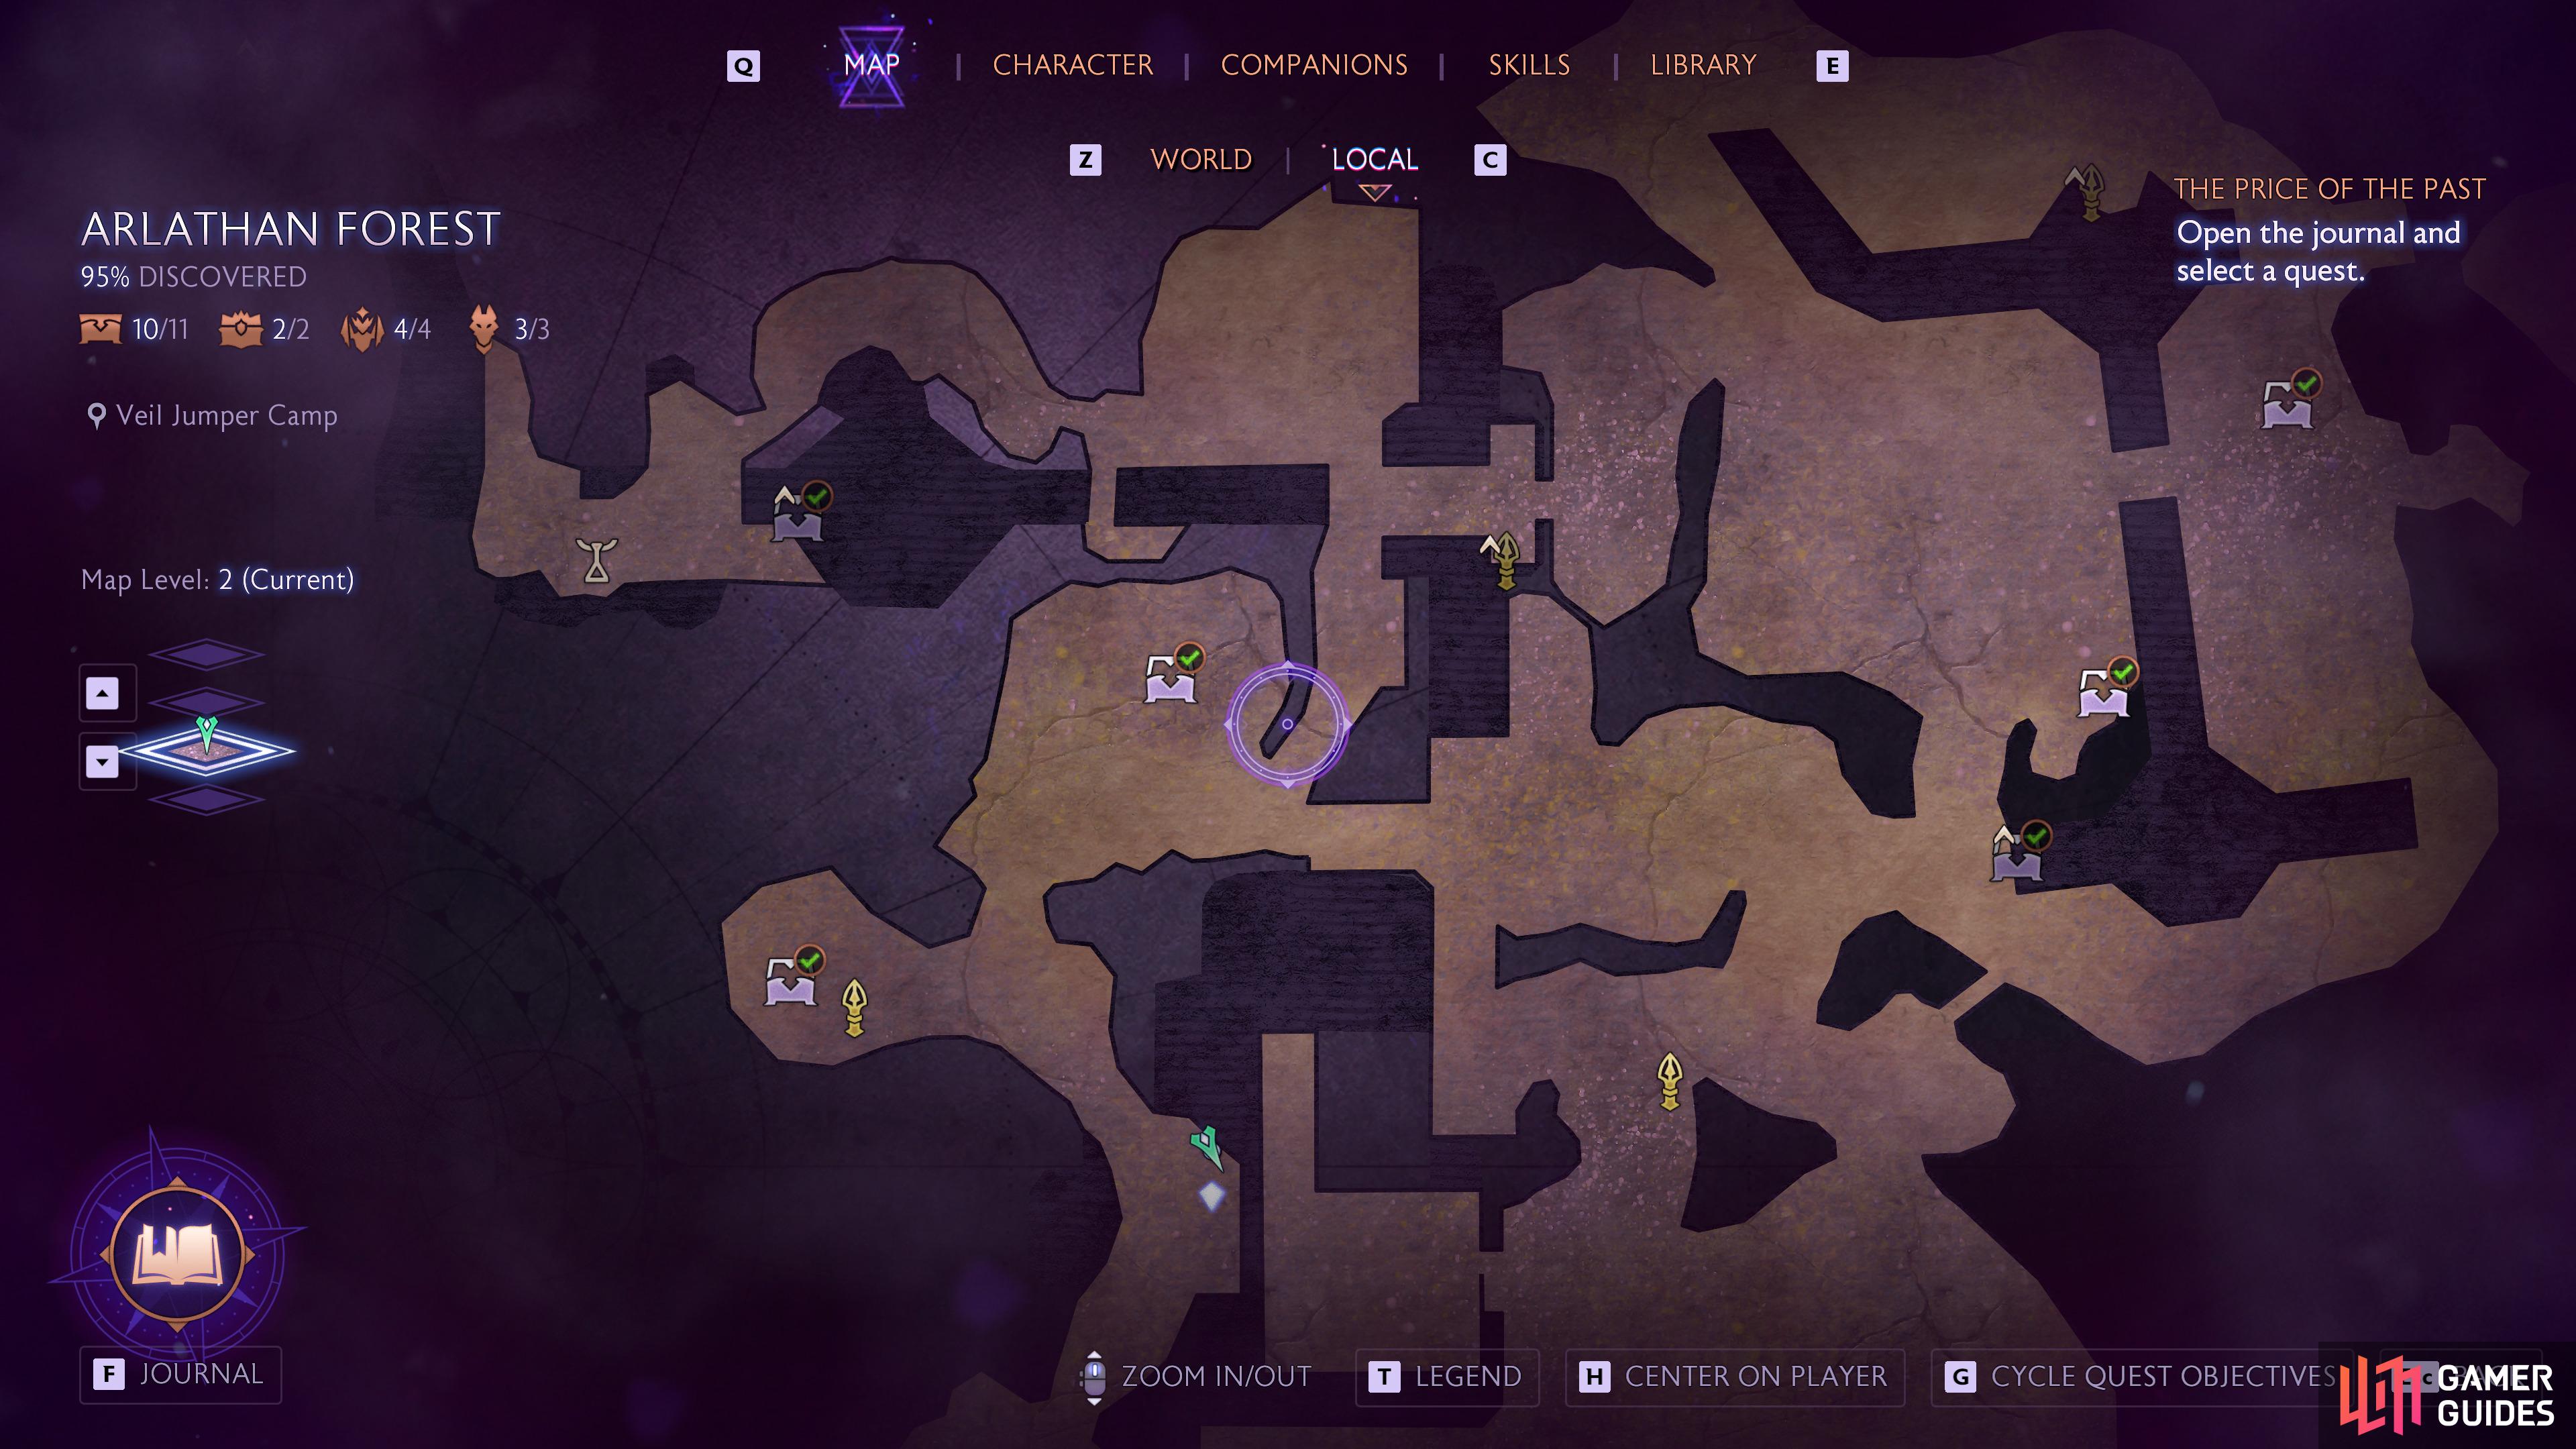
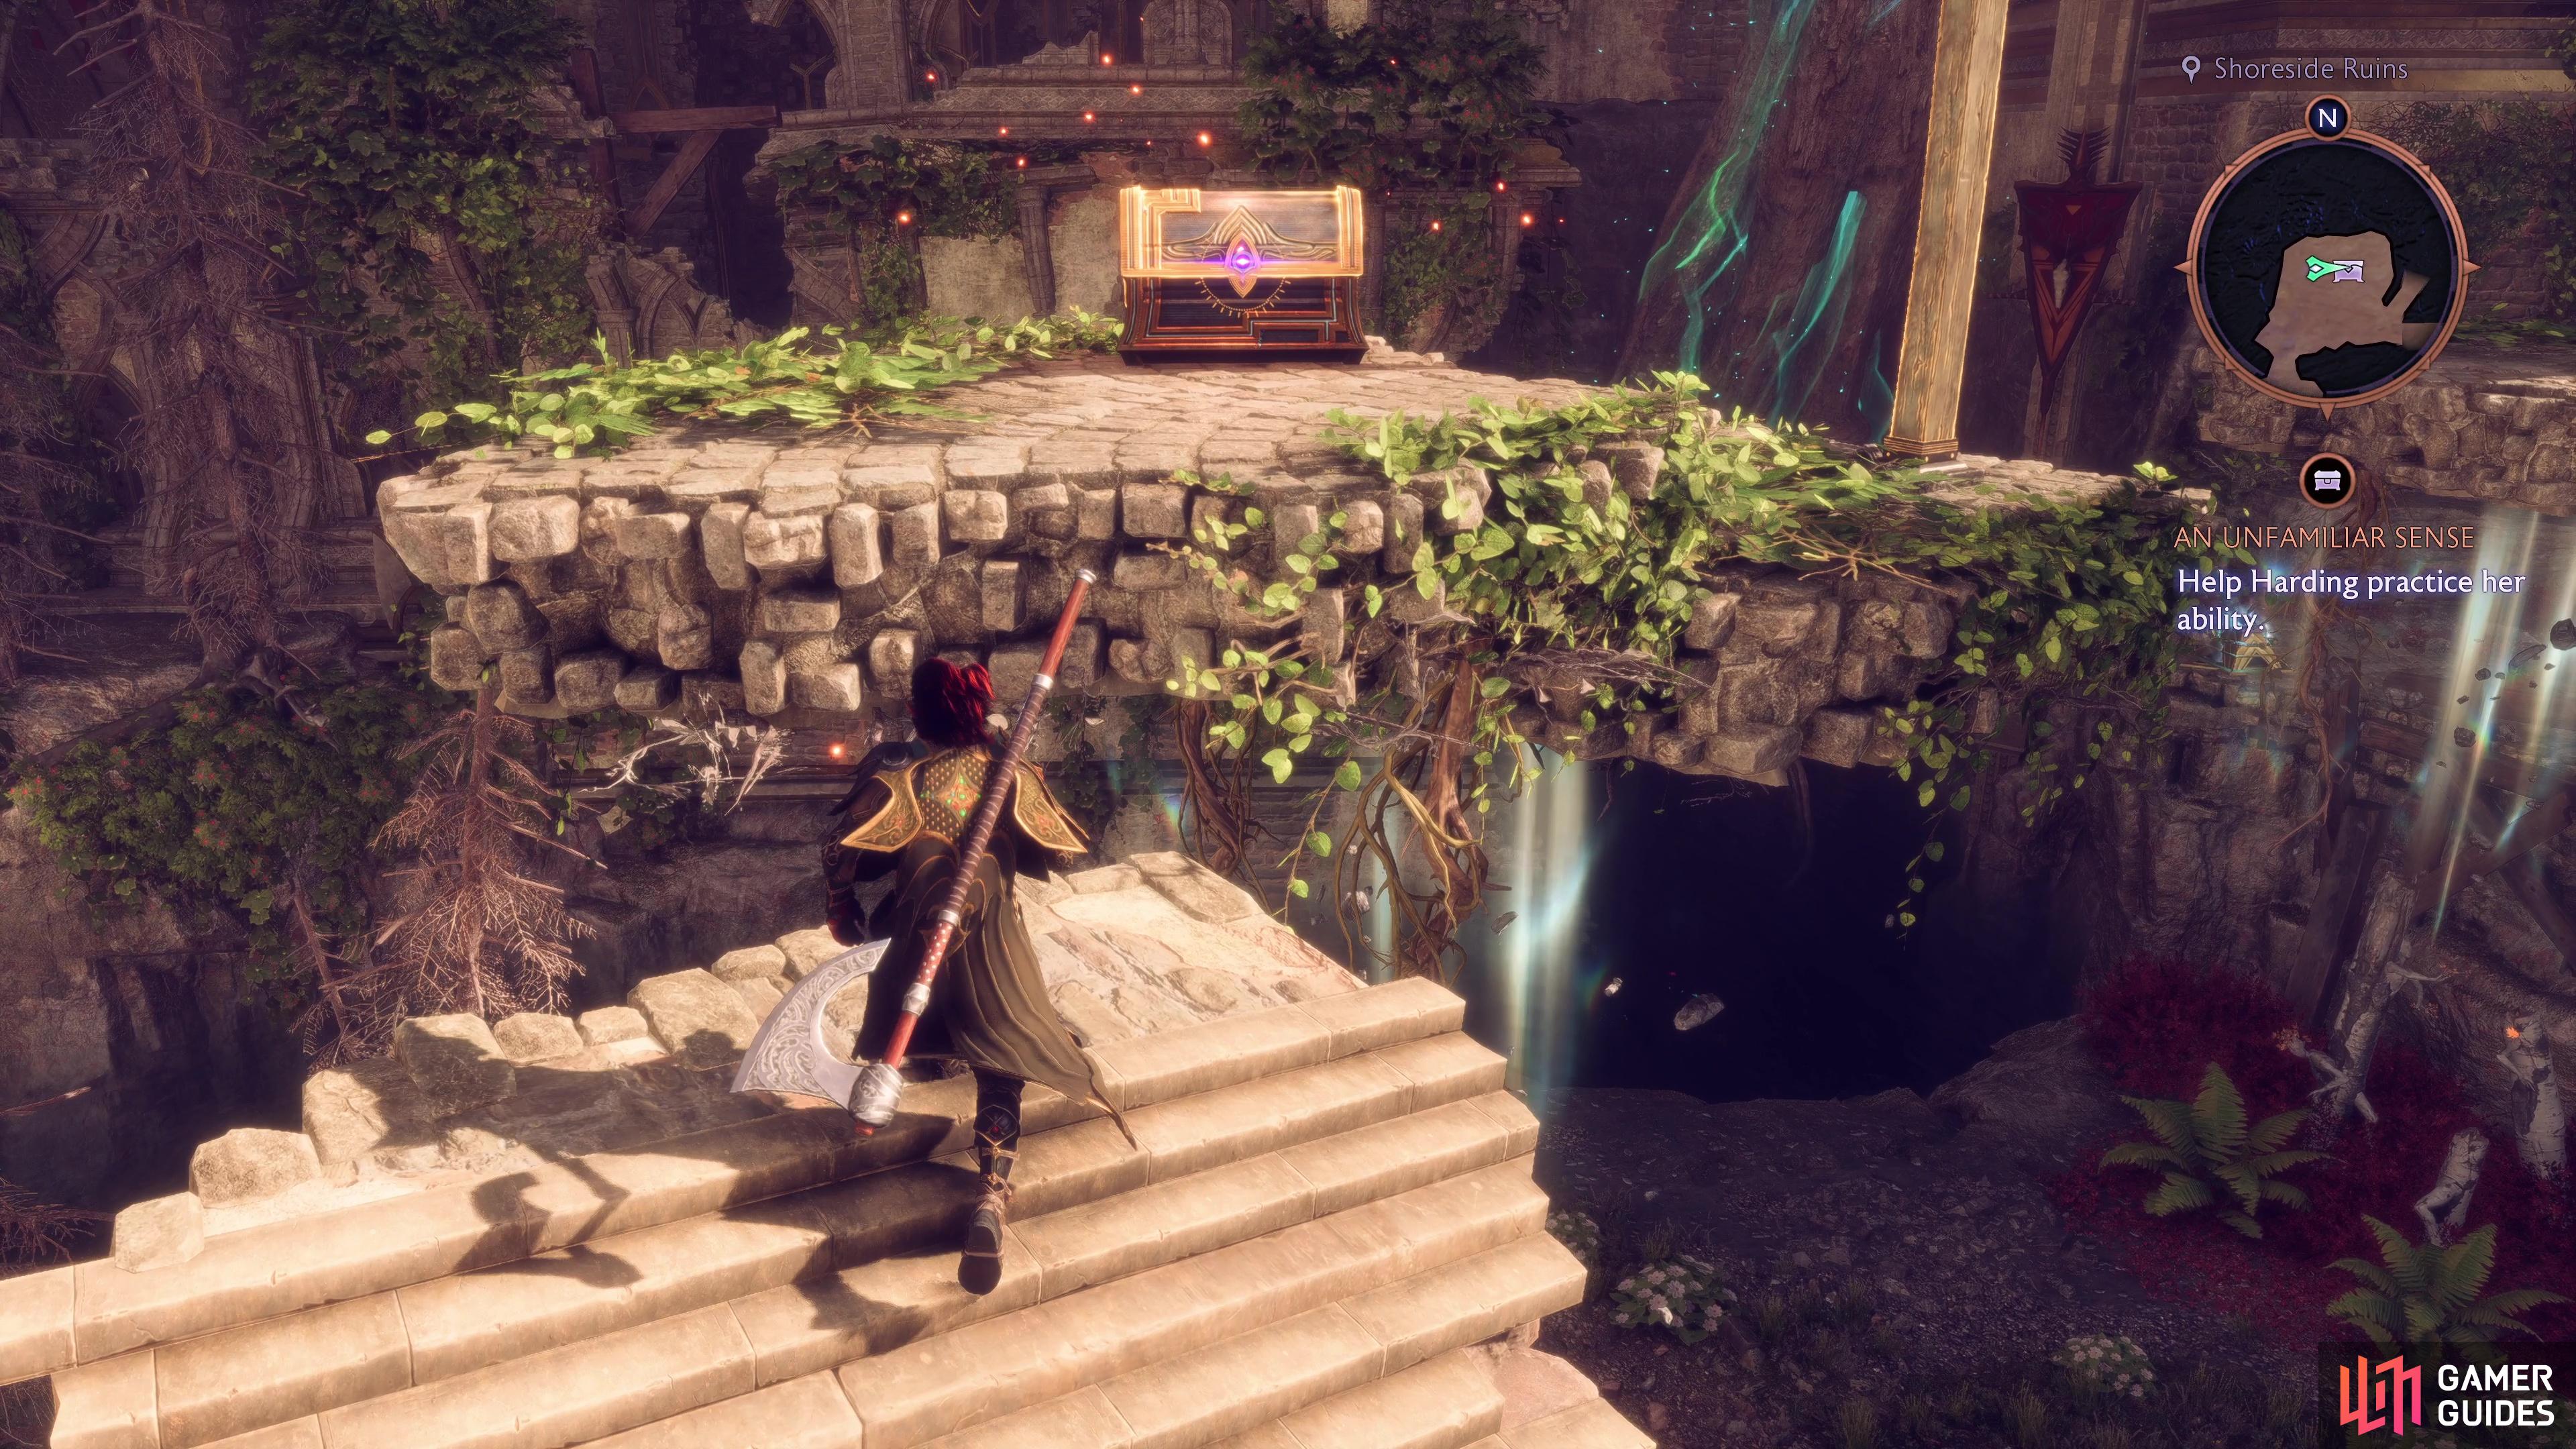
Regular Chest 2 - Shoreside Ruins
(1 of 2) This is a second chest in Shoreside Ruins, just north from the previous one.
This is a second chest in Shoreside Ruins, just north from the previous one. (left), Use Harding or Rook’s Stone Sense ability to reach the chest at the top of the central platform. (right)
A second chest that can be found in the Shoreside Ruins during Harding’s quest, north from the previous chest. In this clearing, you’ll find some rocks you can manipulate with Harding’s Stone Song ability, use it to climb the platform in the middle and reach the chest.
Regular Chest 3 - Ancient Aqueduct
(1 of 2) Go to the southeast Ancient Aqueduct Beacon and go down the path to the west.
Go to the southeast Ancient Aqueduct Beacon and go down the path to the west. (left), Walk into the rift to have it detonate and create a hole in the wall where the chest is lurking. (right)
Make your way to the southeast Ancient Aqueduct Beacon (there are two in this area) and go to the west to find an Owl Statue. If you look behind it, you’ll spot a disturbance, walk close to it to set it to detonate, destroying the wall behind it and leading to the chest.
Regular Chest 4 - Shadowy Grove
(1 of 2) Go to the Ruins Reach Beacon and head northeast into the open area.
Go to the Ruins Reach Beacon and head northeast into the open area. (left), The fourth chest can be found tucked away in the southeast corner. (right)
From the Ruins Reach Beacon, head northeast into the large open area to find yourself in Shadowy Grove. Head to the southeast corner after dealing with the enemies to find a a regular chest sitting in the corner.
Regular Chest 5 - Riverside Ruins
(1 of 2) Go to the northern Ancient Aqueduct Beacon and head into the Riverside Ruins to the north.
Go to the northern Ancient Aqueduct Beacon and head into the Riverside Ruins to the north. (left), find the power crystal amongst the crates to the west to drop the barrier to the east where the chest is. (right)
Starting from the northern Ancient Aqueduct Beacon, go north into the Riverside Ruins and walk toward the rift to cause an explosion that destroys the western wall. Next, have Bellara or Rook repair the device near the eastern exit and then grab the Power Crystal amongst the boxes to the west, placing it on the newly repaired device. This will drop the barrier and allow you to access the chest.
Regular Chest 6 - Tattered Bridge Puzzle
(1 of 2) Go to the Nameless Building Beacon and go west to reach the Tattered Bridge.
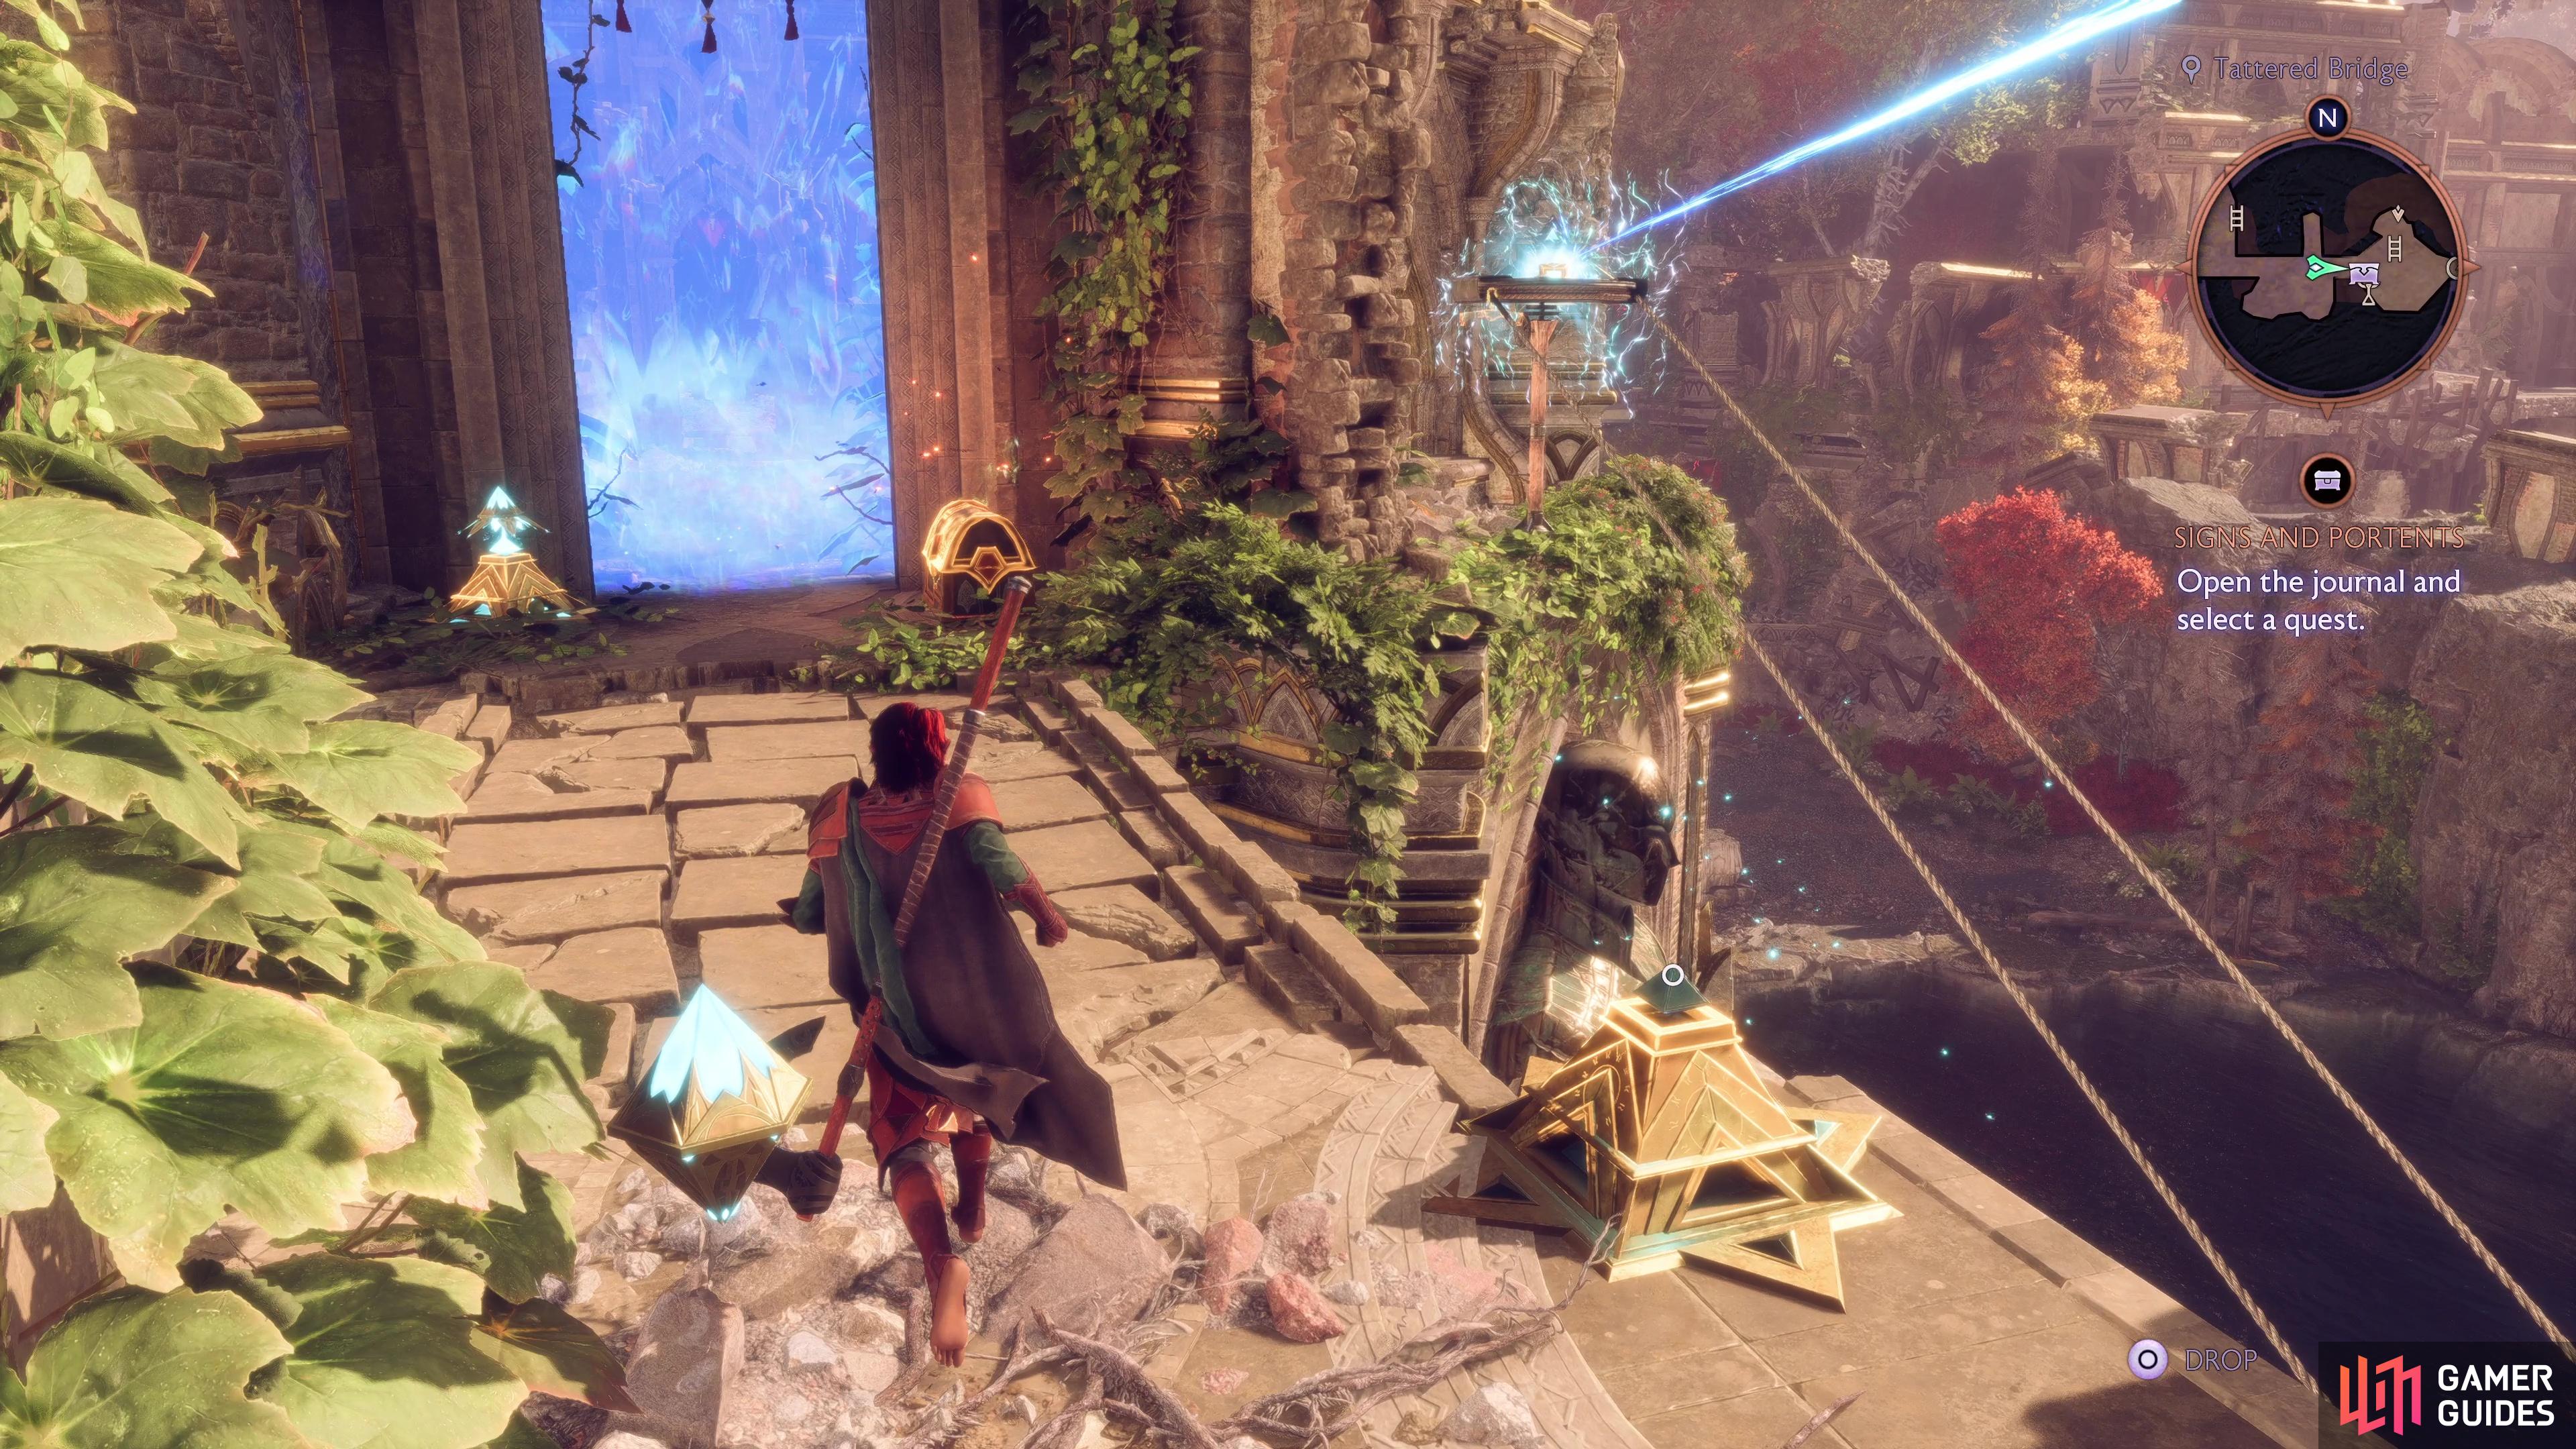
Go to the Nameless Building Beacon and go west to reach the Tattered Bridge. (left), Solve the puzzle by directing the southern laser at the northern one, and then directing that at the device on the wall to create a bridge. (right)
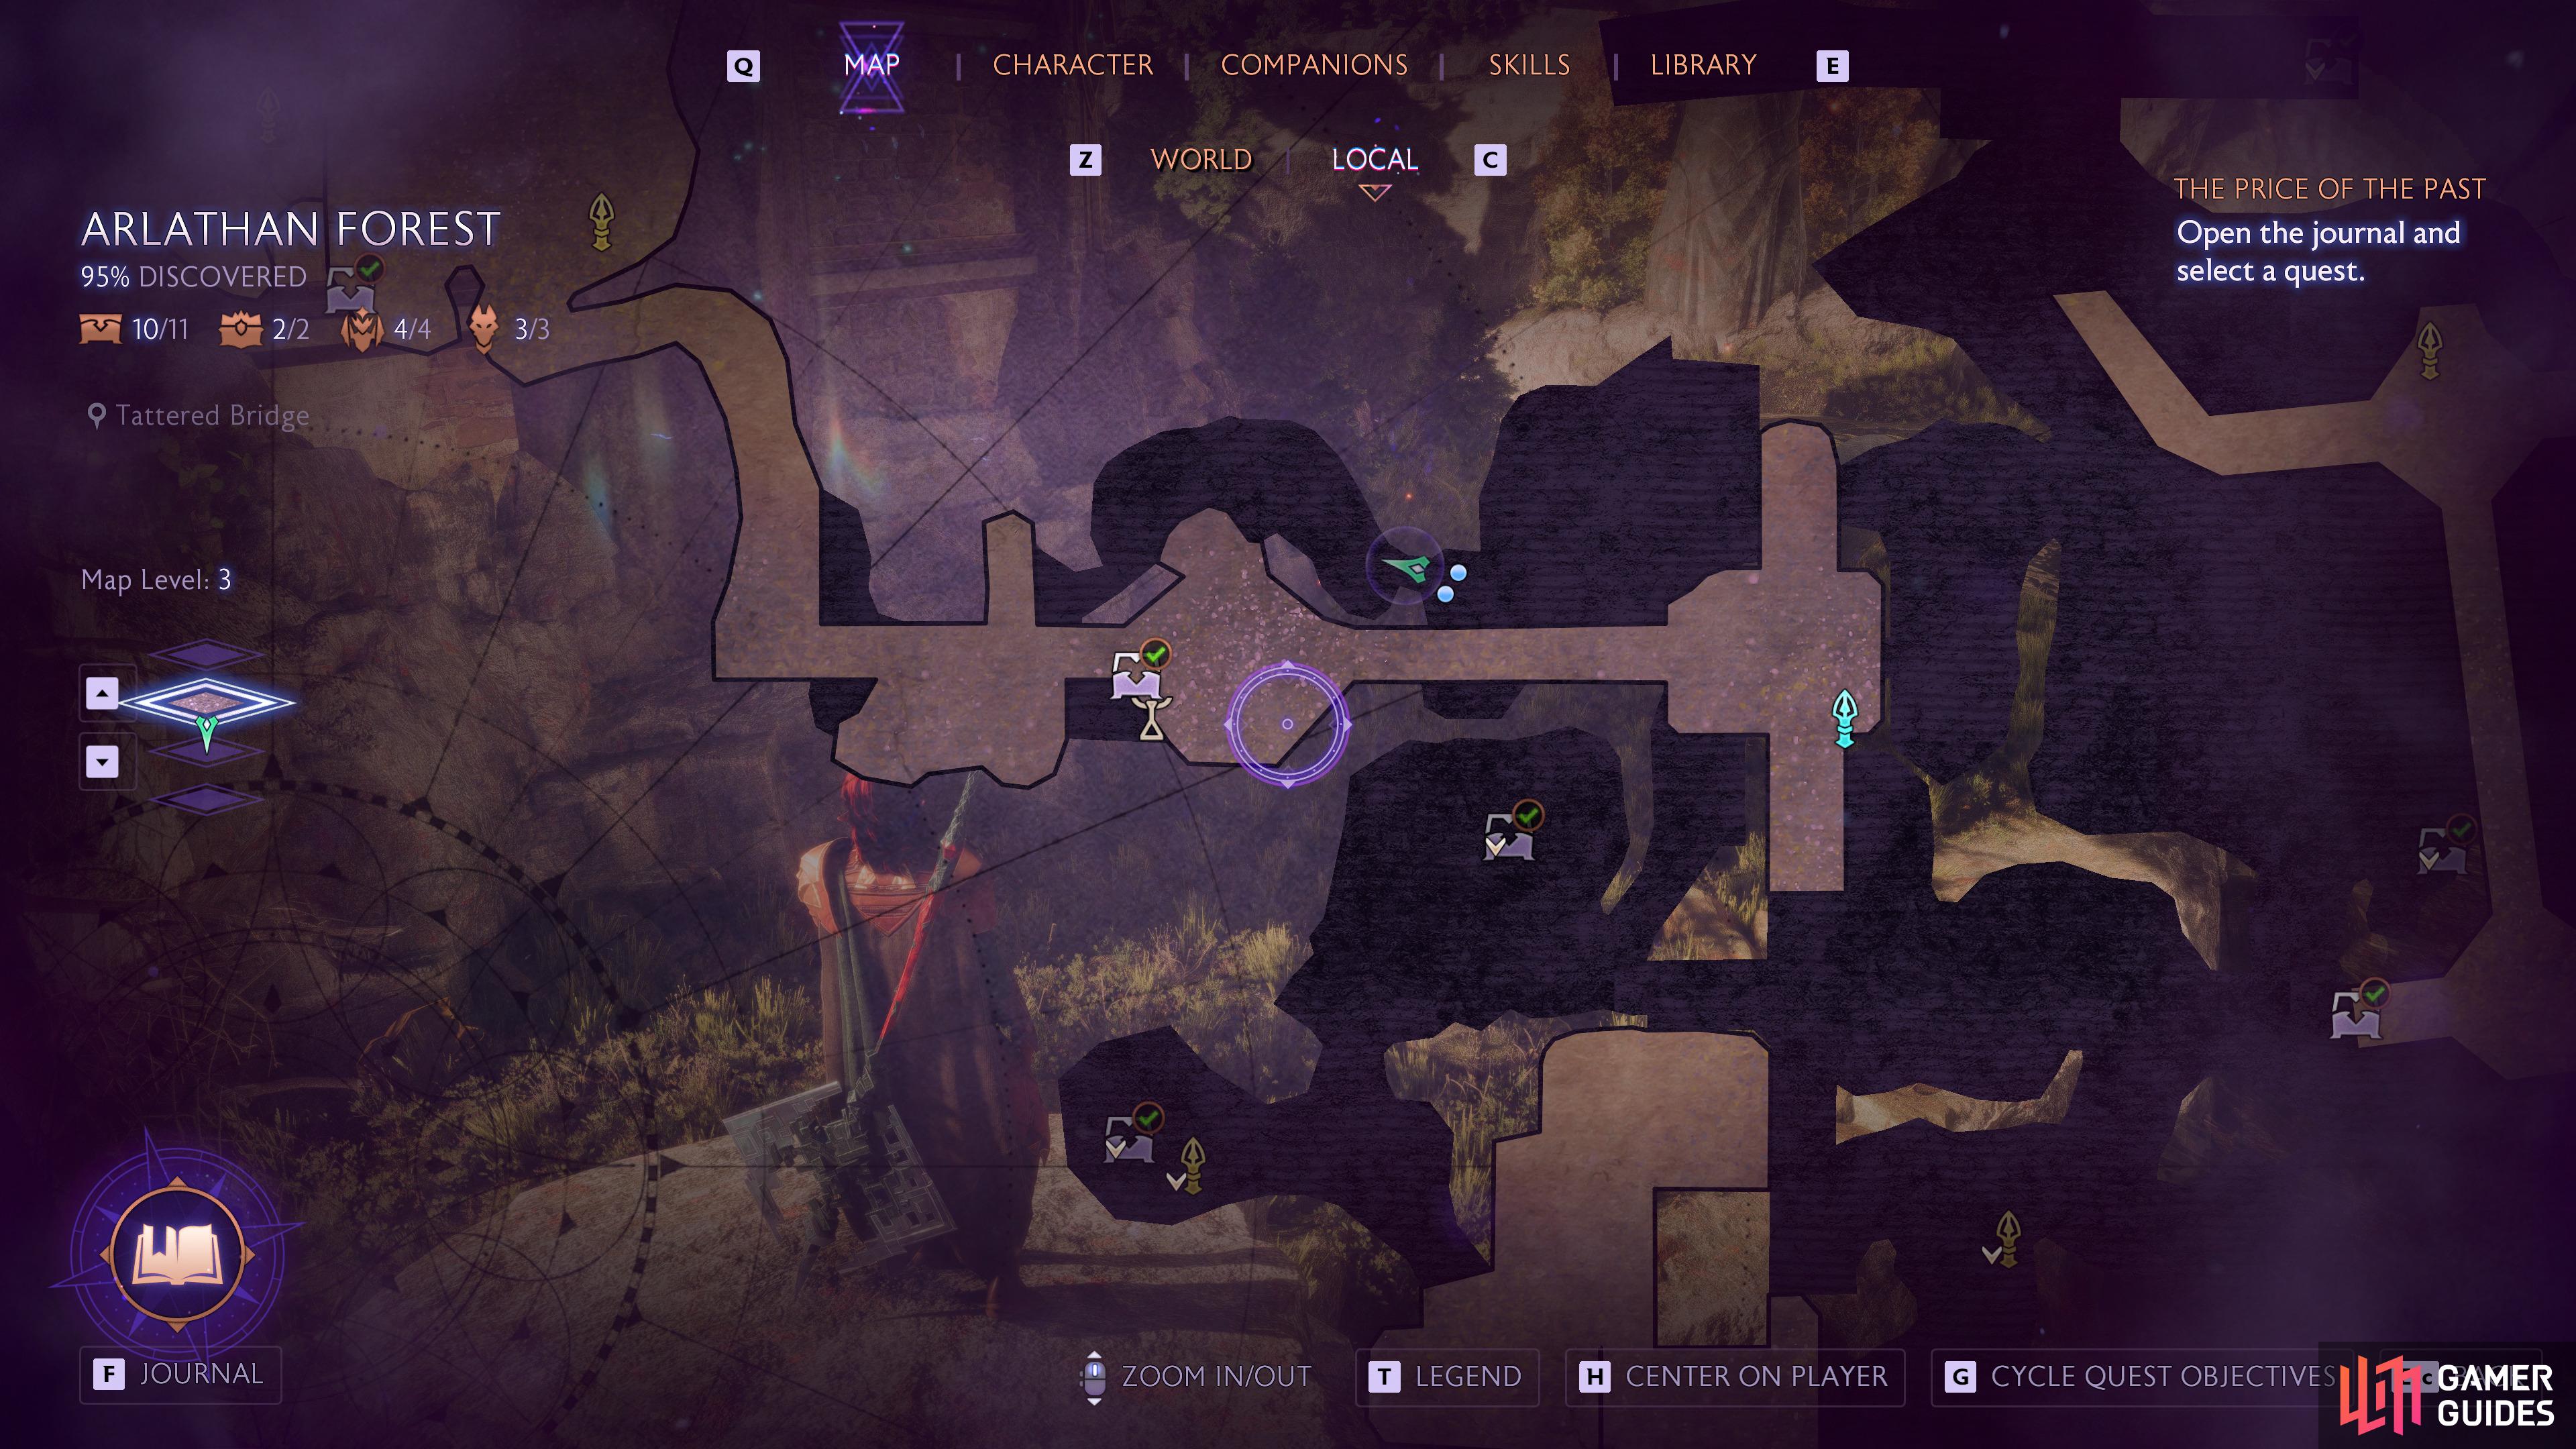
Travel to the Nameless Building Beacon and go to the west where you’ll find the Tattered Bridge area. Go down the ladder to your left and follow the path to some ledges you can climb and a ladder that takes you to the top of the building. You won’t be able to get to the chest yet, so take the zipline over to the west, follow the path to a ladder and then go south to loop back around.
Grab the Power Crystal here and place it in the first device you come to (it will be on your left). This will allow you to access the laser to the north that you can direct toward the device under the laser to the south. Go back and grab the Power Crystal now and place it in the other device, this will allow you to reach the southern laser where you can kick a plank down.
Go back to the walkway and remove the Power Crystal from its device so the bridge you created is not blocking the first laser and direct the second laser to a device on the wall near the first zipline you took, this will create a bridge to the chest.
Regular Chest 7 - Jagged Ruins
(1 of 3) Go to the Jagged Ruins Beacon in the northwest of Arlathan Forest.
Make your way to the Jagged Ruins Beacon to the northwest of the region and as you complete the Magic of the Ancients Side Quest, you’ll charge a laser which you can find on the southeast of the ruins, high up. Direct this at the device to the east (not the larger one across the platforms) and this will erect a bridge leading over to the chest in the southwest.
Regular Chest 8 - Eastern Ancient Aqueduct
(1 of 2) Go to the southeast Ancient Aqueduct Beacon.
Go to the southeast Ancient Aqueduct Beacon. (left), Follow the path around to circle back to the chest from above and leap over to reach it. (right)
Once you can exit to the east of the Ancient Aqueduct, follow the path to the west and into a building. Once you can, loop back around to the south from your higher elevation and leap over to the chest.
Regular Chest 9 - Waterfront Glades
(1 of 2) You’ll reach this area in Waterfront Glades at the end of Davrin’s How to Train a Griffon Companion Quest.
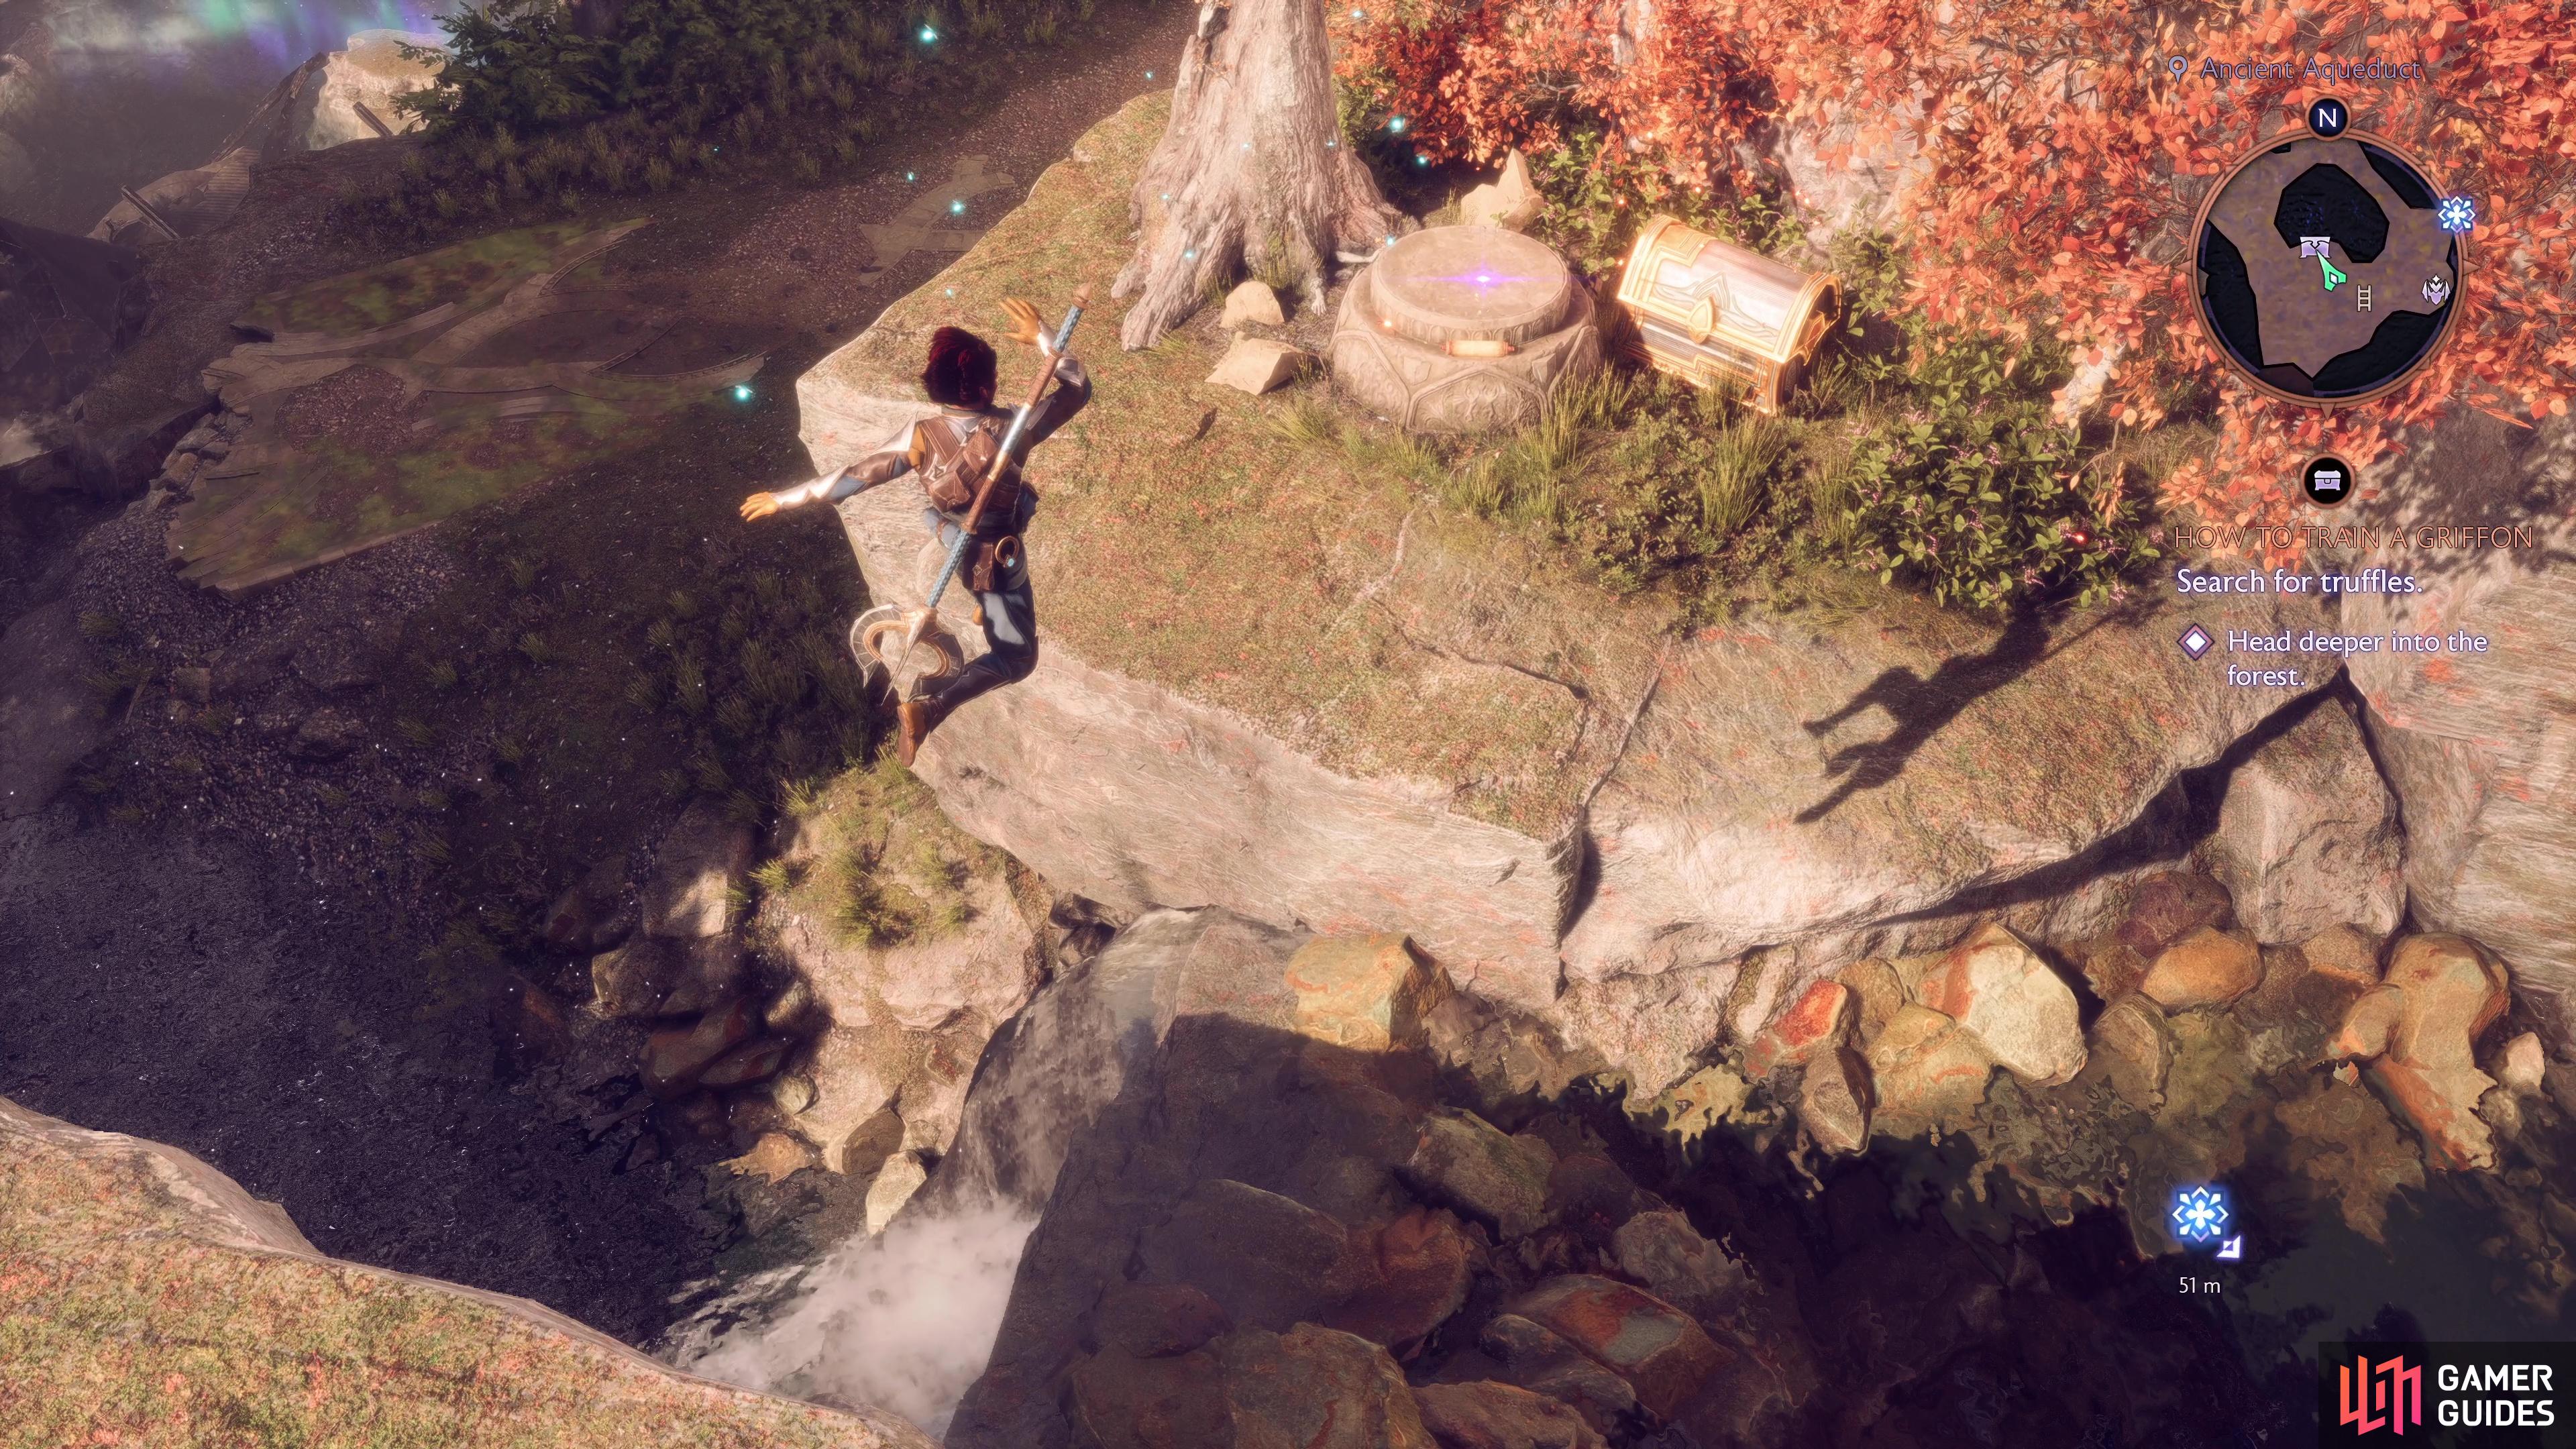
You’ll reach this area in Waterfront Glades at the end of Davrin’s How to Train a Griffon Companion Quest. (left), Look in the corner once the quest is over to find the chest and an altar. (right)
As you progress through Davrin’s How to Train a Griffon Companion Quest, you’ll eventually reach this part of the Waterfront Glades when you find the final Truffle, the chest and an Altar can be found in the wall of this enclosed area.
Regular Chest 10 - Ancient Aqueduct
(1 of 2) Go to the Northern Ancient Aqueduct Beacon and grab the Power Crystal from chest 6 via the shortcut you created.
Go to the Northern Ancient Aqueduct Beacon and grab the Power Crystal from chest 6 via the shortcut you created. (left), You can then place it on the device and use the laser to the south of the beacon on the island, creating a path to the chest. (right)
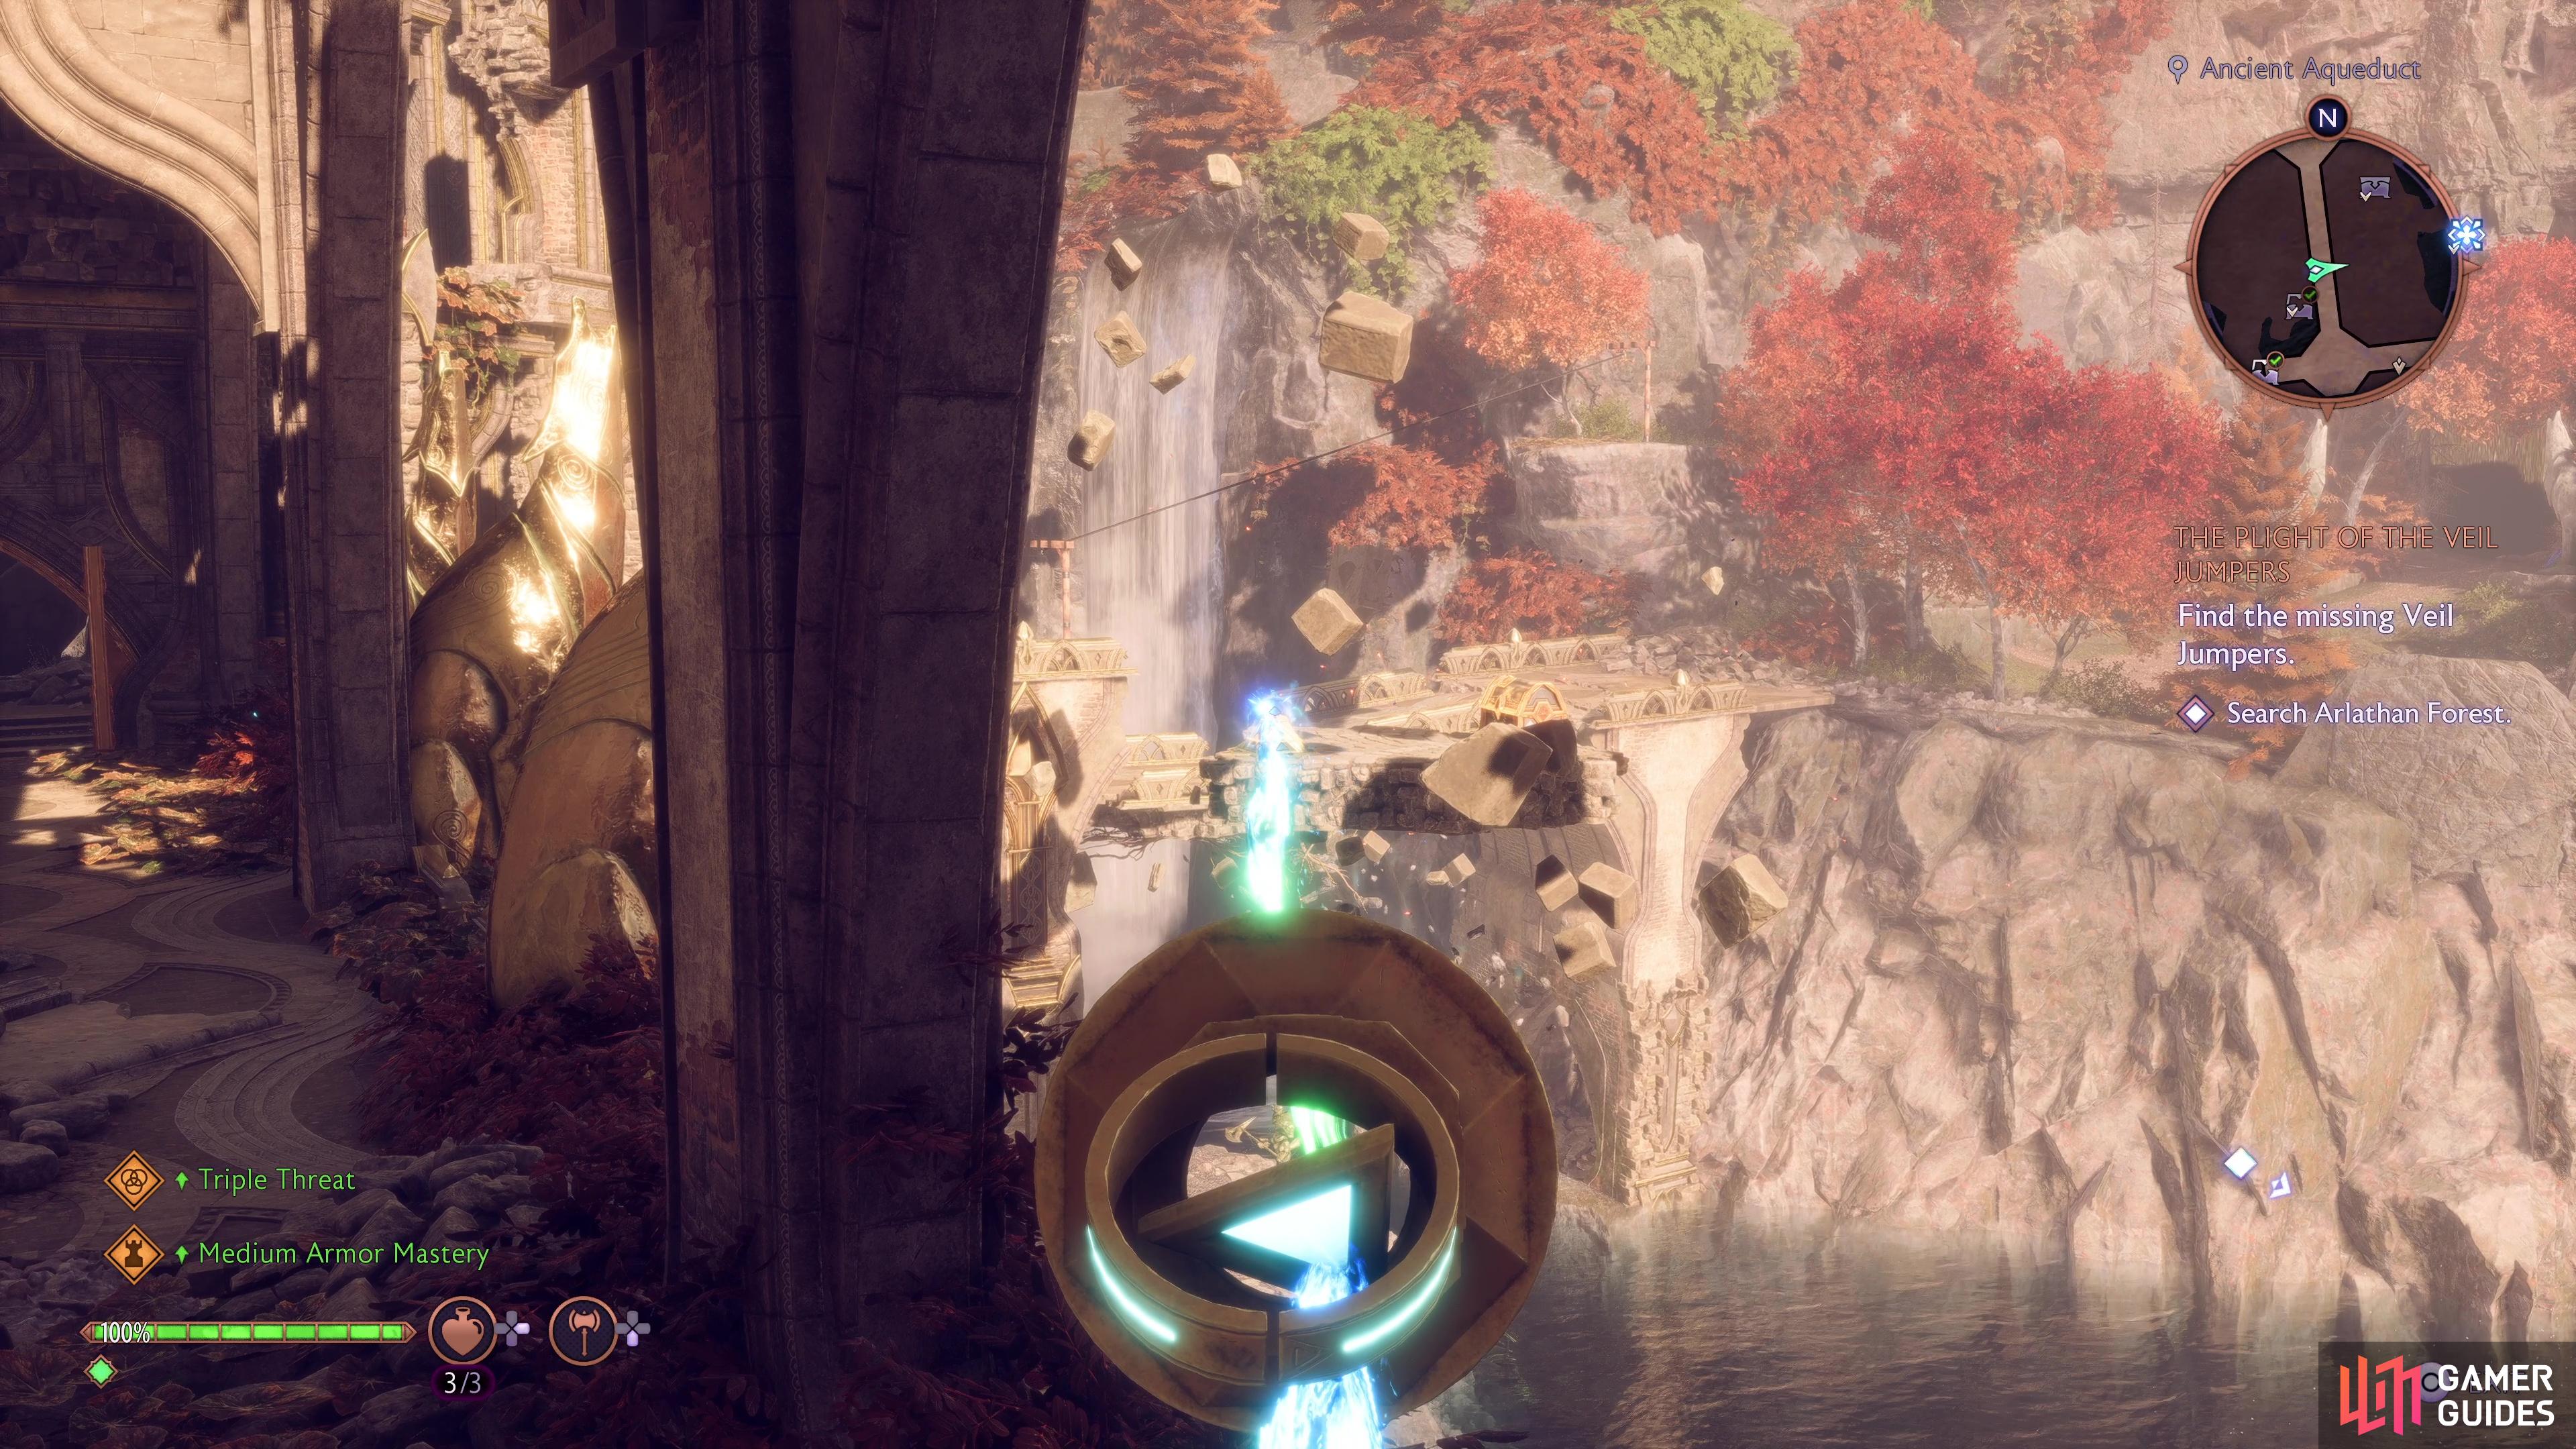
This chest can be a tricky one to get, and requires you to collect Chest 6 on the Tattered Bridge, this will open up a shortcut back into the northern Ancient Aqueduct Beacon. Head south down the path and look to your left to spot a Chest on the island, go through your shortcut and grab a Power Crystal, then bring it back to this path and place it on the device near the laser. From here, you can direct the laser at the device on the floating island and cross the bridge to claim the chest.
Regular Chest 11 - Shadowy Grove Statue Puzzle
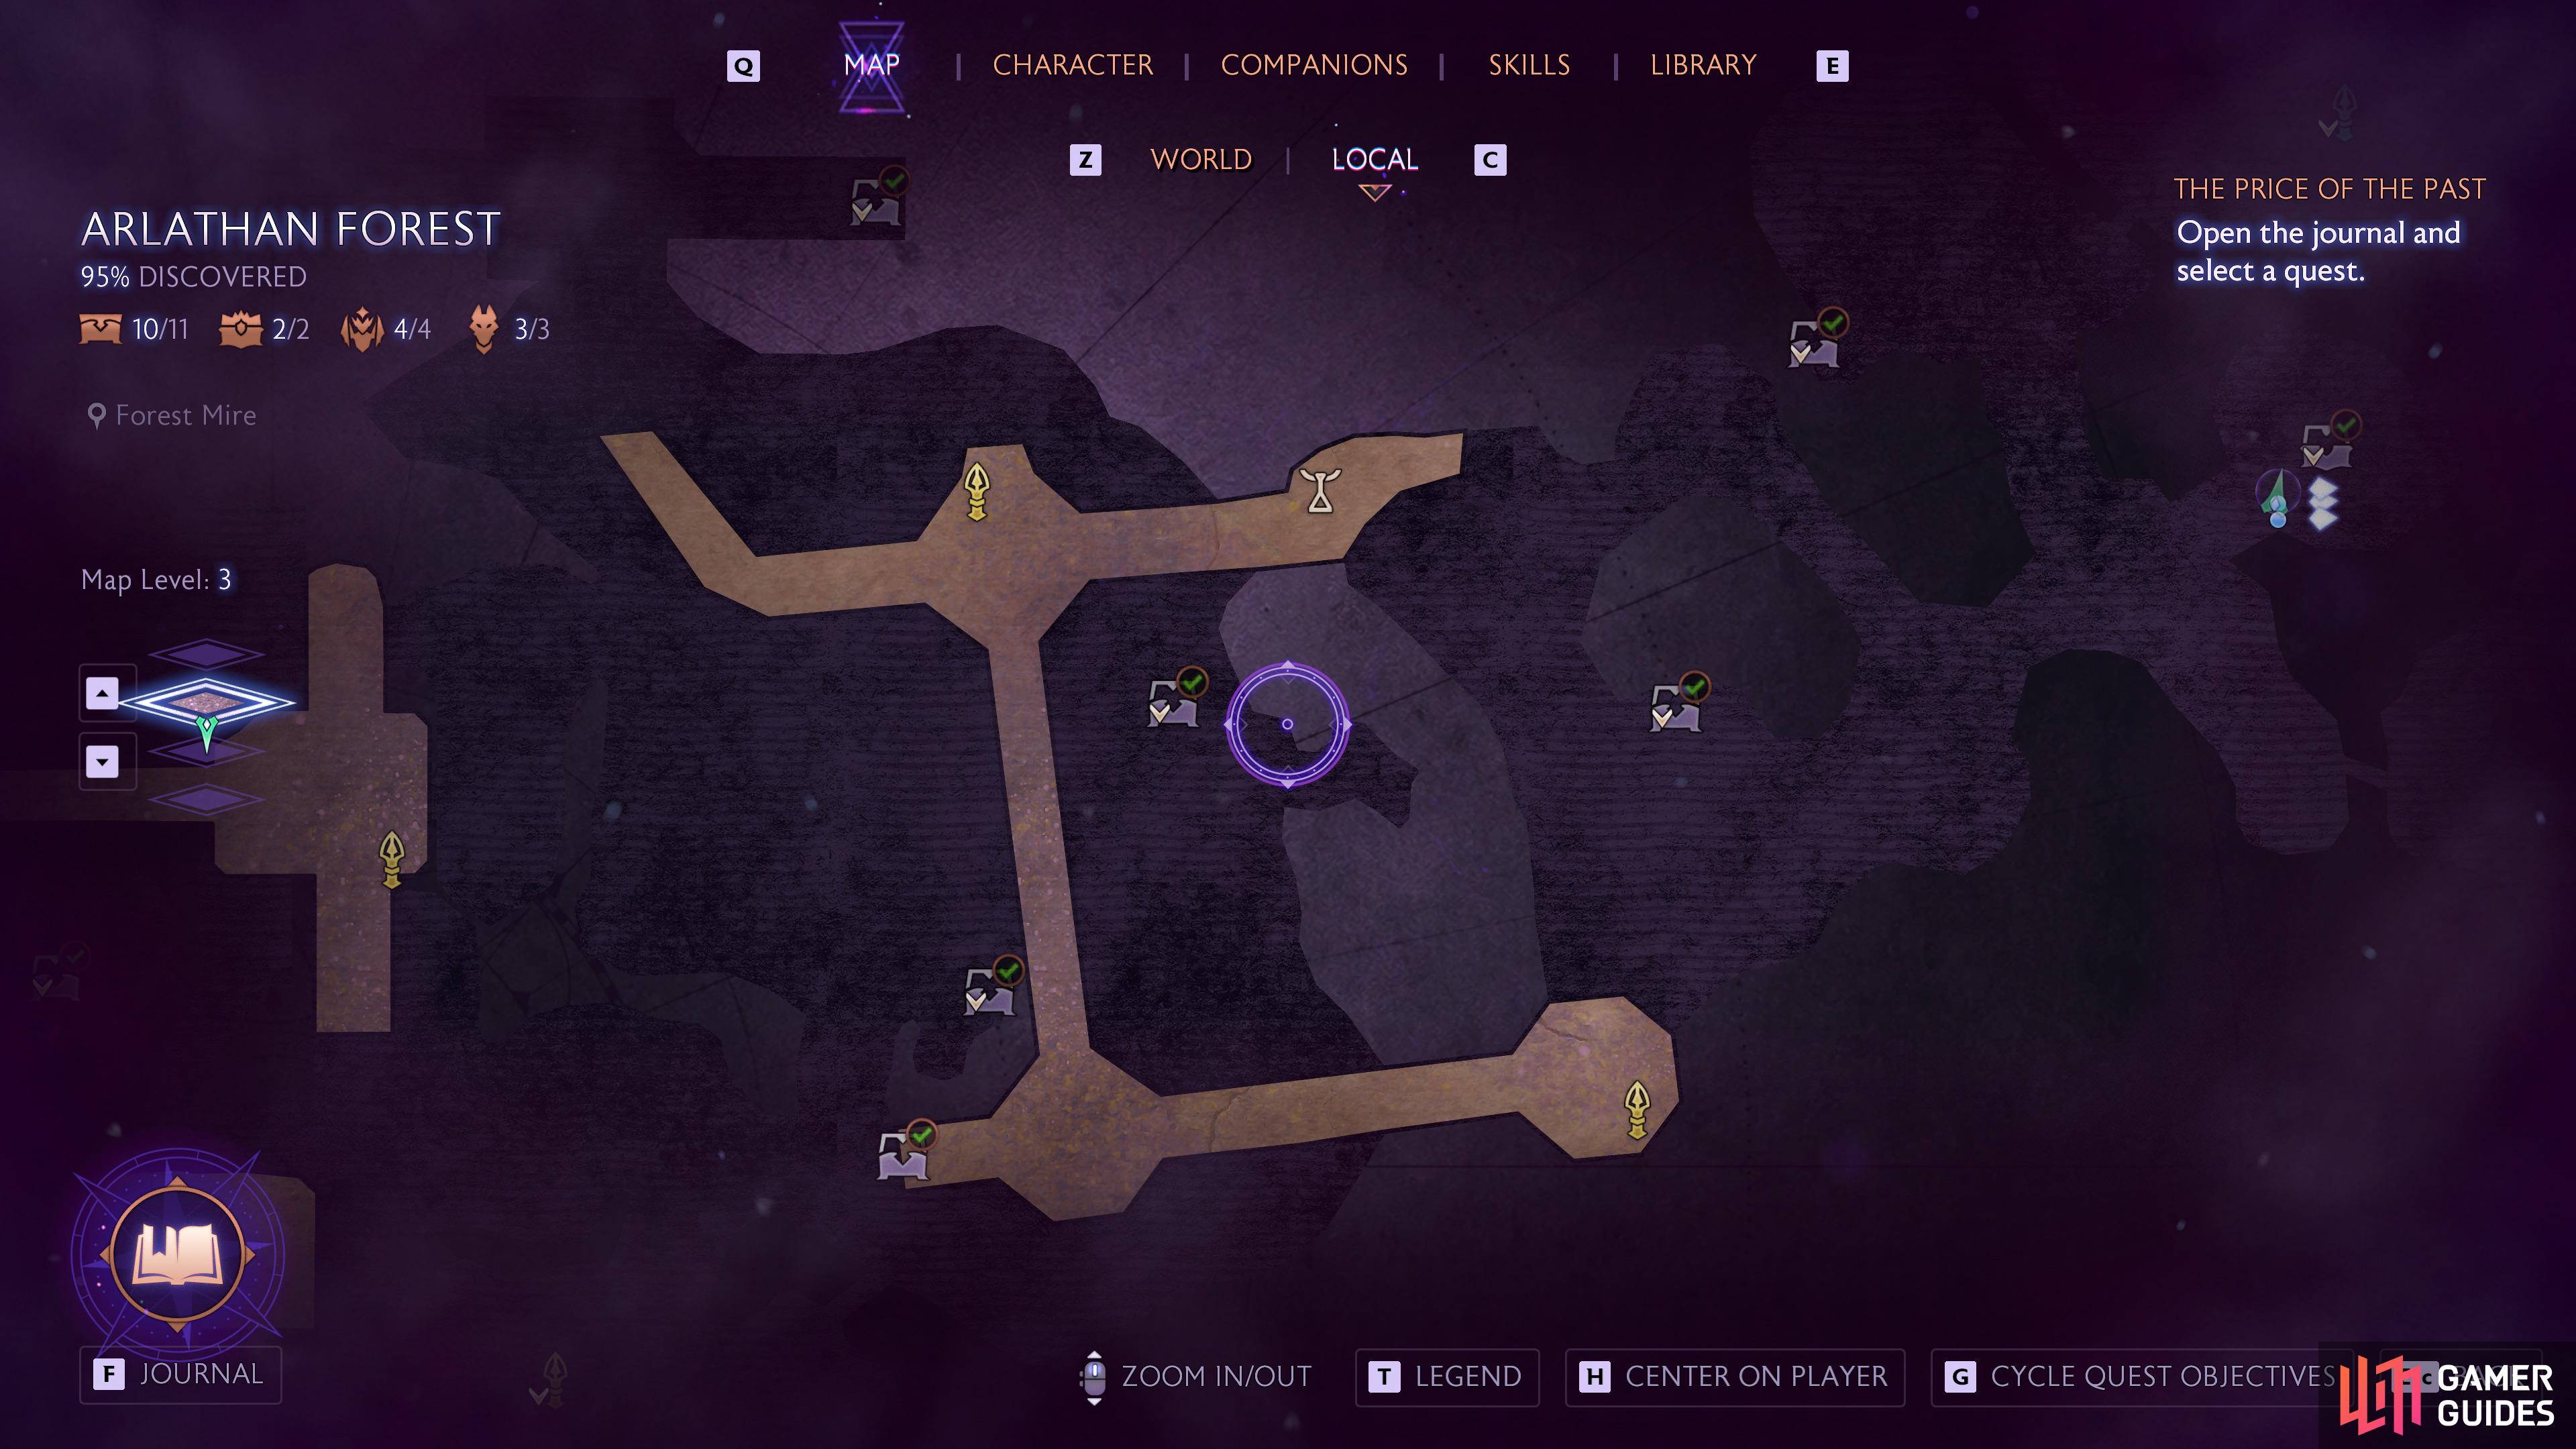
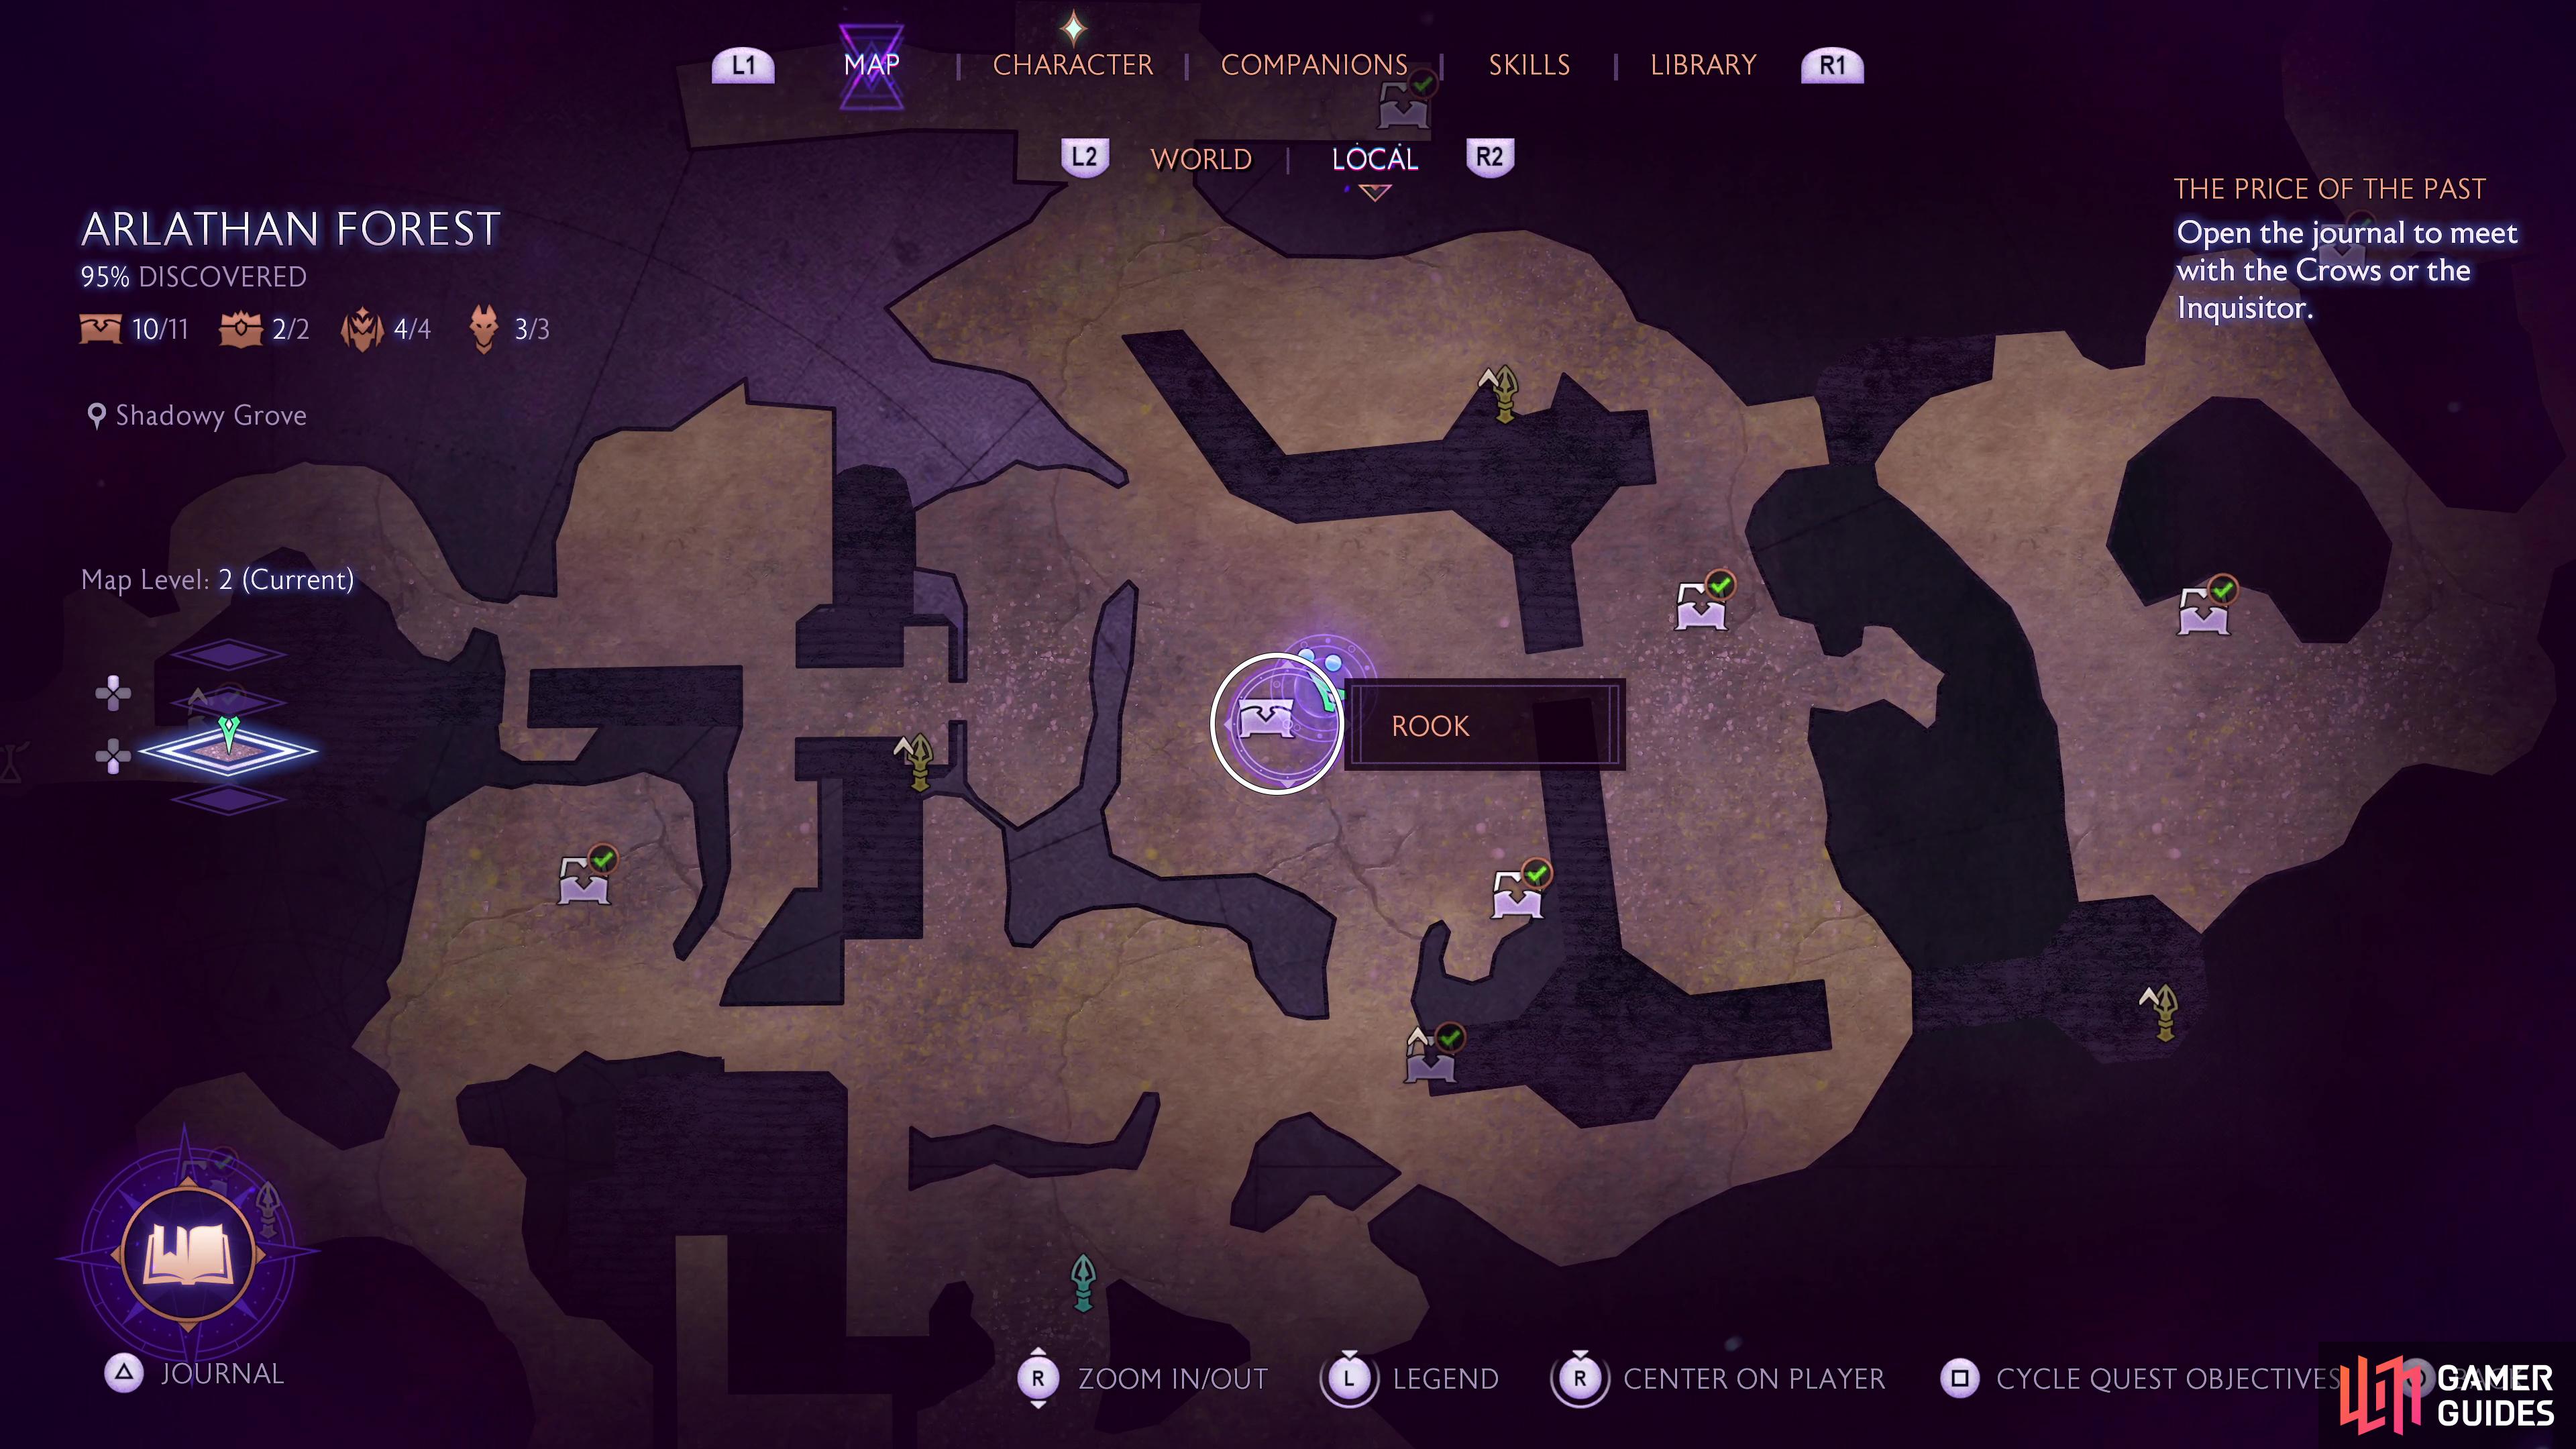
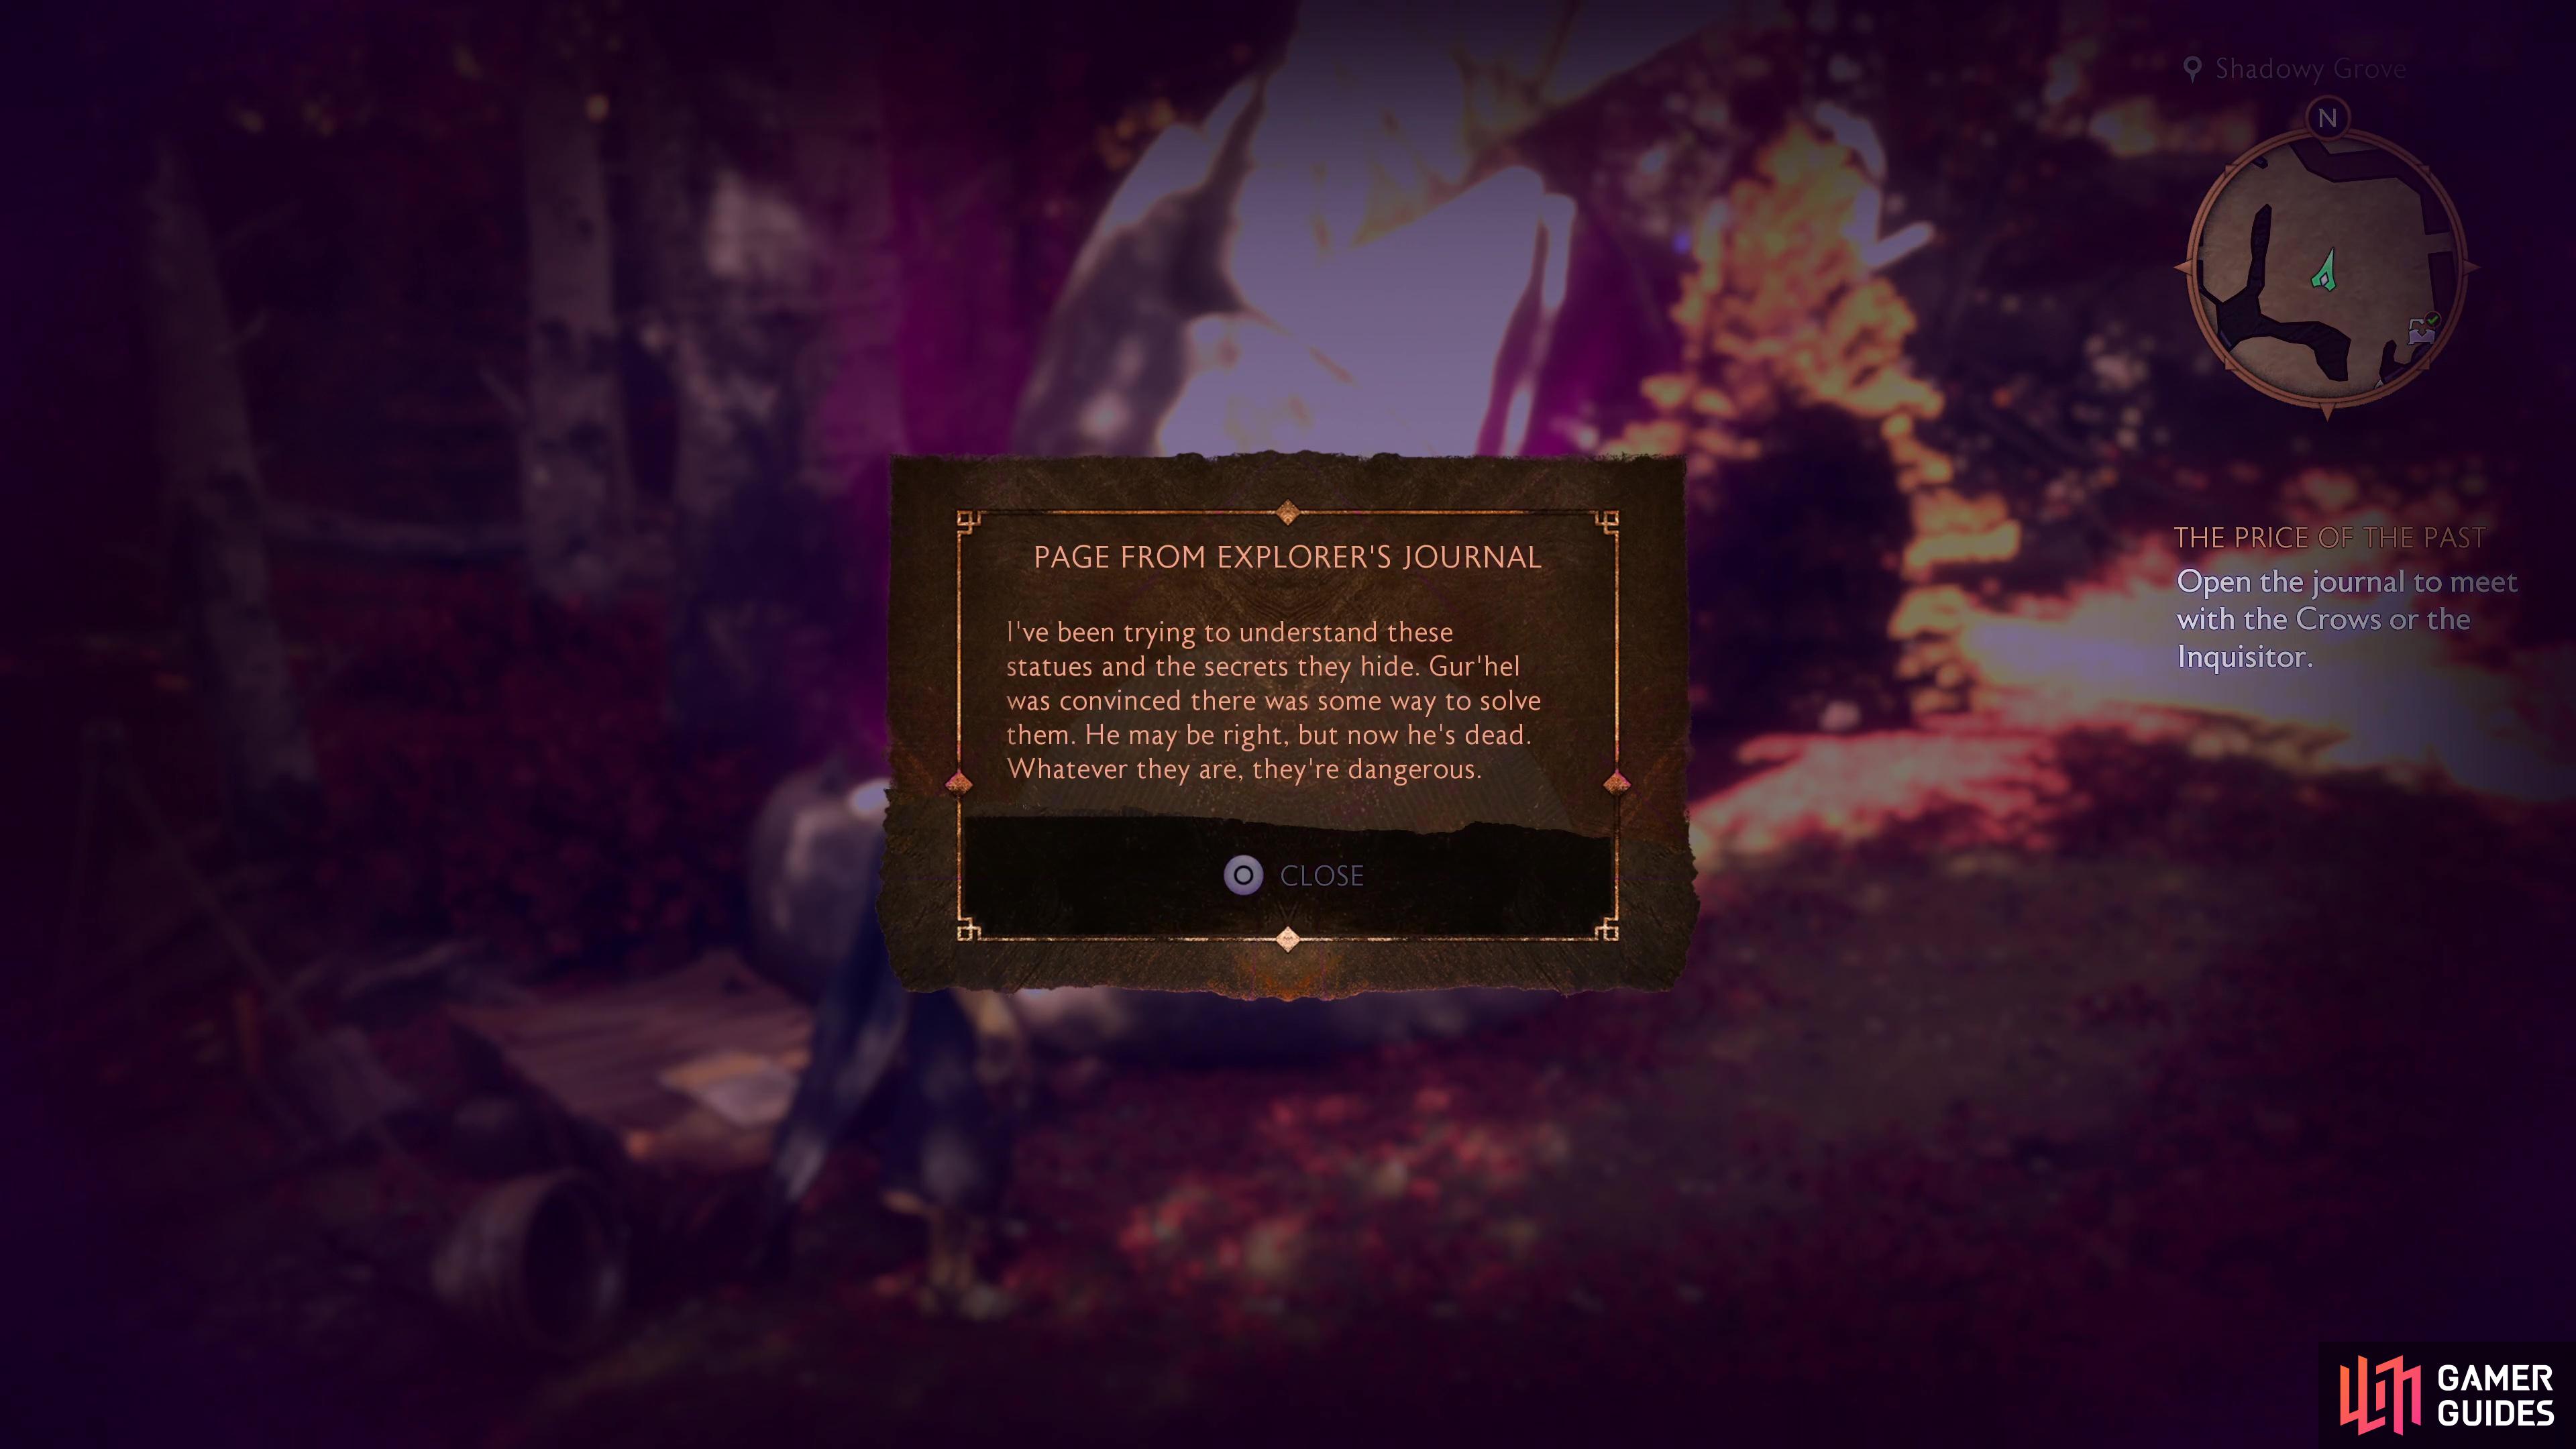
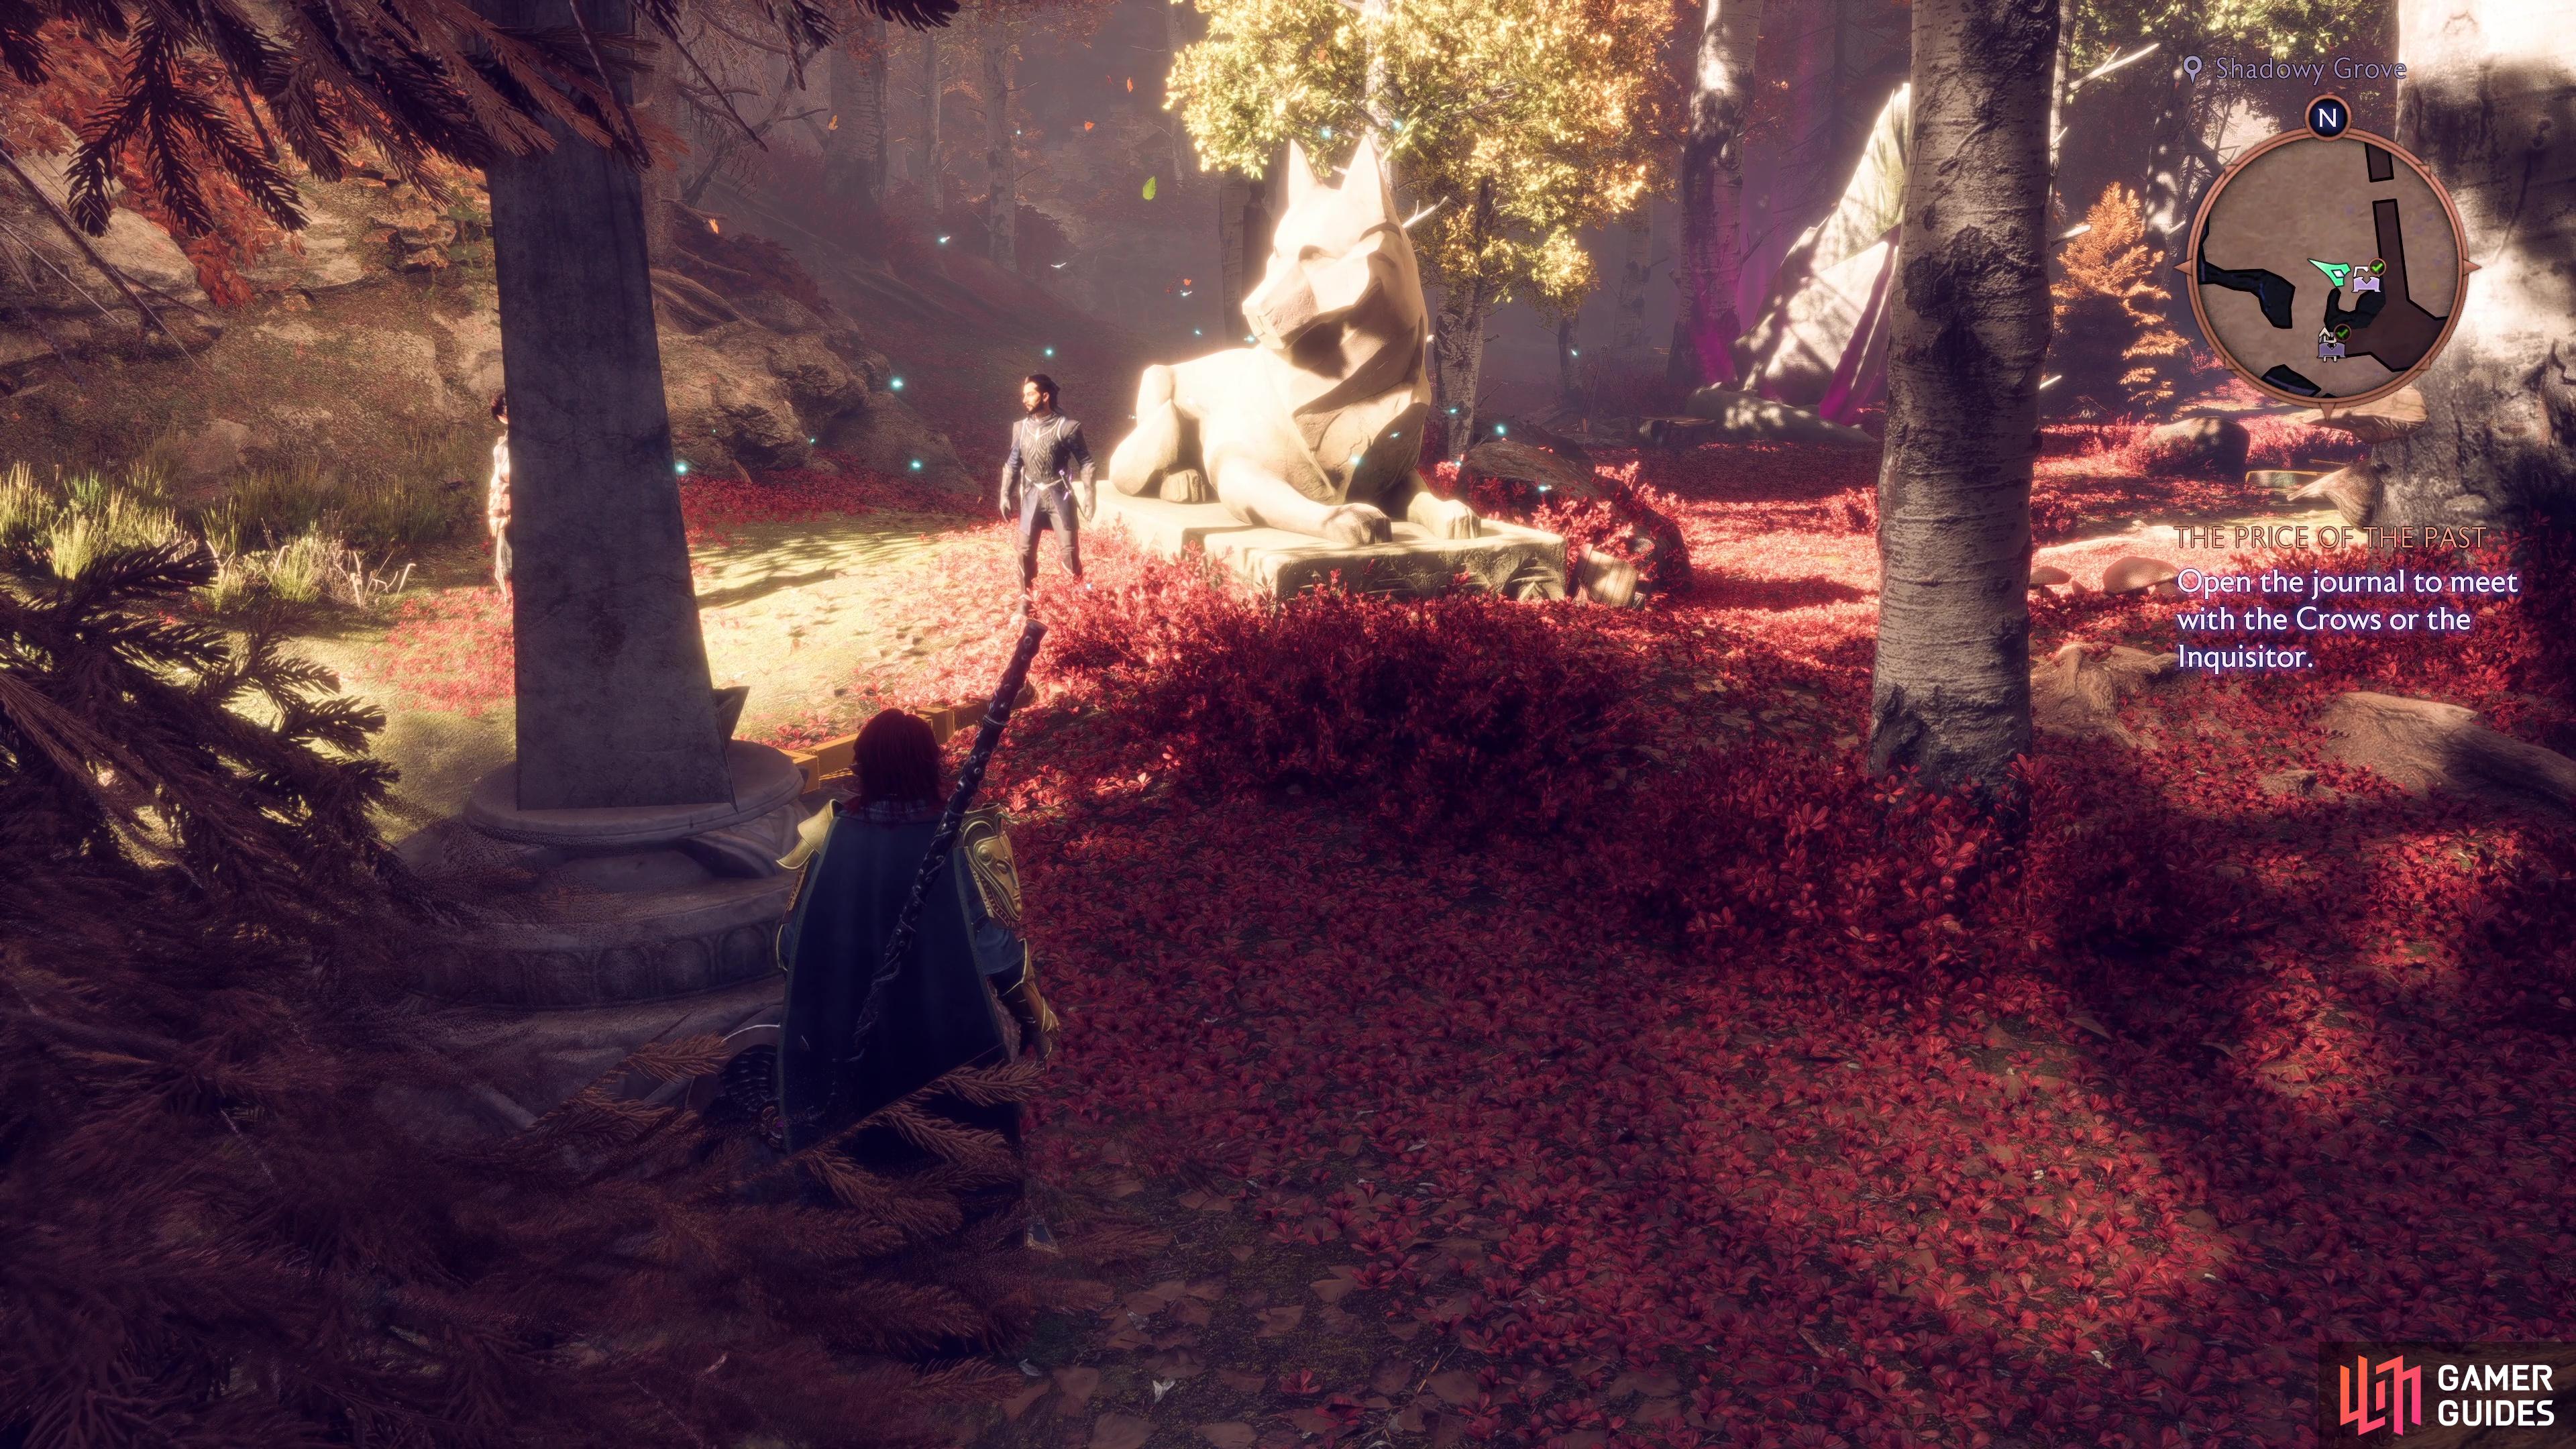
This final Regular Chest is perhaps the toughest one to find, because it’s easily hidden in the Shadowy Grove and won’t become available until towards the end of Act 2. You will have been through this area plenty of times, but if you look at the glowing Wolf Statue in the center, you’ll find a note nearby. You must examine this note first to be able to start rotating the nearby Statues. The goal is to rotate all six Statues to face the glowing large Wolf Statue in the center, when you do, a Rage Demon will spawn. This fearsome foe is Level 45, so be careful as you take it down.
Unique Chests
Outside of the 11 Regular Chests in Arlathan Forest, there are also two Unique Chests to discover. These chests will have the same loot for all Classes and are often specialized. You will need to at least reach Davrin’s Companion Quest above to reach the area with these two chests.
Unique Chest 1 - Waterfront Glades
(1 of 3) You need to reach the island in the center of the Waterfront Glades area.
Make your way to the Waterfront Glades Beacon after completing Davrin’s Companion quest and you’ll spot a chest in the middle of the water, with seemingly no way to access it. If you look closely, there are pillars surrounding this area with devices on it, and you must go around the Waterfront Glades area to find the lasers and direct them at each device. There is one to the northwest, northeast, and southeast of the area that circles the small island.
Once you have created a path over to the island, you’ll need to deal with a Level 26 Guardian of Secrets construct that protects the chest. Once defeated, you can open the Unique Chest to obtain the ![]() Iron Veil, a Unique Light Helm. Before you leave this area, don’t forget to collect the A Mysterious Circle behind the chest, this is one of the items needed for the secret ending!
Iron Veil, a Unique Light Helm. Before you leave this area, don’t forget to collect the A Mysterious Circle behind the chest, this is one of the items needed for the secret ending!
Unique Chest 2 - Tainted Woods
(1 of 3) Make your way to the Tainted Woods Beacon in the northeast of Arlathan Forest.
Starting at the Tainted Woods Beacon to the far northeast of Arlathan Forest, you’ll find the area just to your south is Blighted. Inside is the area where you’ll fight the Champion for the Gate of Faded Glories Quest but you can actually claim the Unique Chest without having to defeat it. Use Harding or Rook’s Stone Sense ability to get inside the ruin and you’ll immediately see Blight Boils everywhere. Your goal is to destroy all of these while avoiding the cyst that will spawn the Champion, clearing out the other Darkspawn can make this easier.
Once the area is clear of any Blight, climb to the very top to claim the second Unique Chest of Arlathan Forest. This one contains a Unique Off-Hand weapon for your chosen Class.
There you have it; you now know where to find all of the hidden Regular and Unique Chests in Arlathan Forest. This will give you some useful equipment with which to combat the Elven gods.








.jpg)

 Sign up

Hey I found where the 11th chest is, in the centre of the forest there is a red glowing statue with a note next to it, if you read the note statues unlock and then you have to point those statues at the red statue, you have to fight a demon and then the chest appears.
Hey Dimcas, thanks for the heads up. I forgot to look at the note so that would explain why I missed it. I've added it to the guide :)